

March 2, 2019
Desktop vs. Pro
Today TJ’s Demo will focus on the additional software features found in VCarve Pro 9.5 vs Desktop 9.5 (no cutting) but many simulations will be run to help everyone understand how all these features work.
The follow features will be covered:
- No Size Limit Pro is not limited to a 24” x 24” work piece, Desktop requires “Tiling” to make something larger.
- Plate Production
 found in Drawing Menu

-
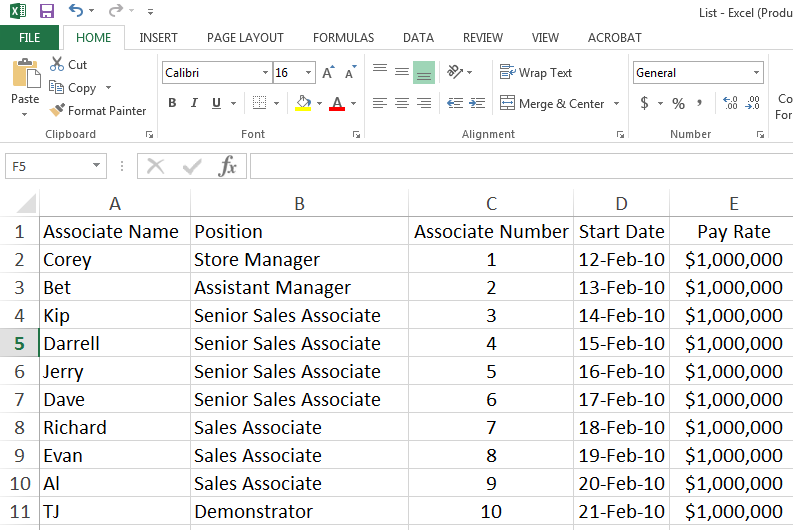
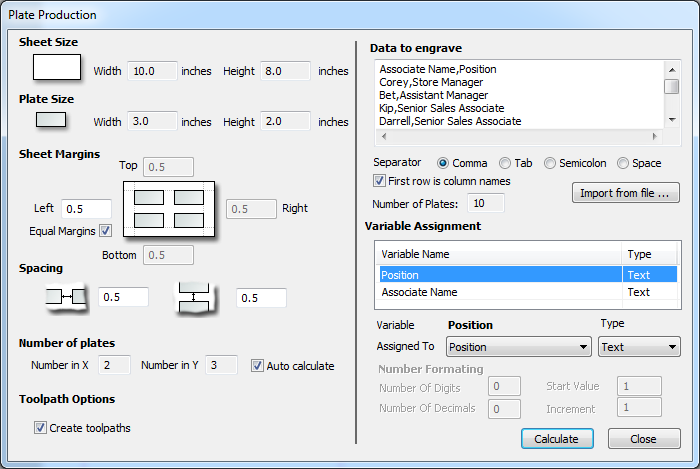
- Allows interfacing with Data from a .CSV (Comma Separated Value) file that can easily be generated from an Excel Spreadsheet.
- Example above will create a Rockler name tag with each associate’s name and position from the data in the spreadsheet.
- Based on name tag size, additional sheets will be created automatically as needed.
- Process is:
- Create Name tag layout
- Process is:
- Allows interfacing with Data from a .CSV (Comma Separated Value) file that can easily be generated from an Excel Spreadsheet.
Job size 10W x 8H
Material Clear Acrylic ¼” thick
Tag size 3” W x 2” H
Text Box 2.75”W x 0.5” H
-
-
-
-
- Make sure to delete the text boxes as no longer needed
- Create tool paths for:
-
-
-
Profile to cut out each name tag
Engraving for all text
-
-
-
-
- Select the entire name tag and associate the variables with the proper data in the .CSV file
- Select the entire name tag and associate the variables with the proper data in the .CSV file
 The result will creates 2 sheets filled with all the name tags based on the spreadsheet data and all associated tool paths
-
-
-
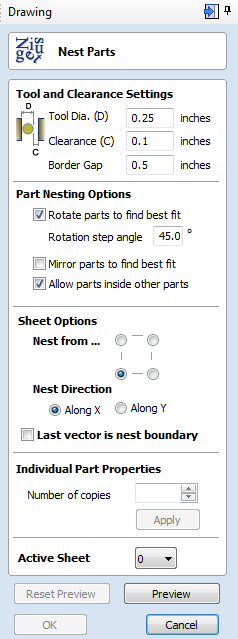
- Nesting
 found in the Drawing Menu
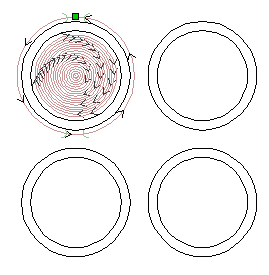
- Creates an automatic calculation to put as many parts as possible on to your work piece based on the options you choose.
-
- Process is:
 Create new job and create or bring parts in to job file:
- Process is:
-
- Creates an automatic calculation to put as many parts as possible on to your work piece based on the options you choose.
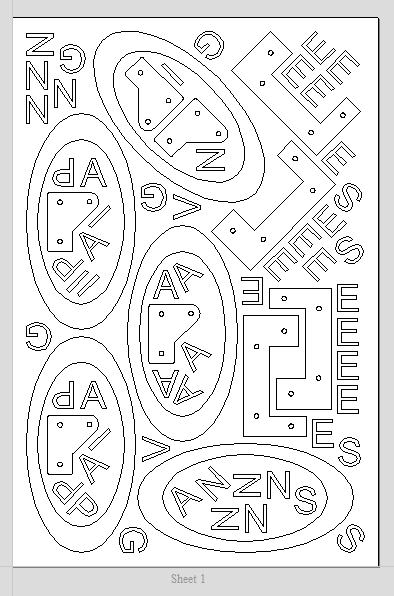
Open job with premade parts, size 20W x 30H
Set tool settings
Select parts to nest on sheet
Try various nesting setting
Enter number of copies
Apply and preview
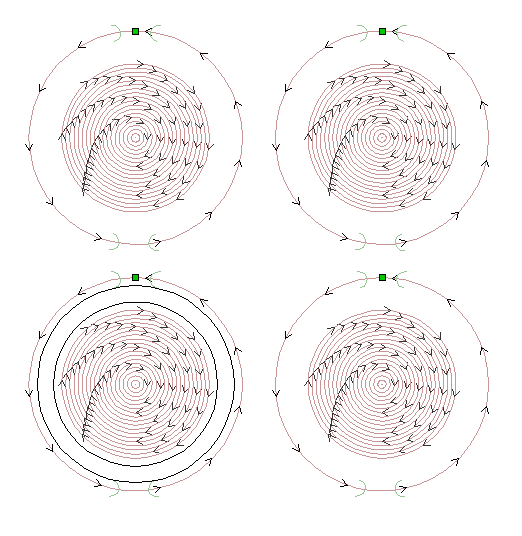
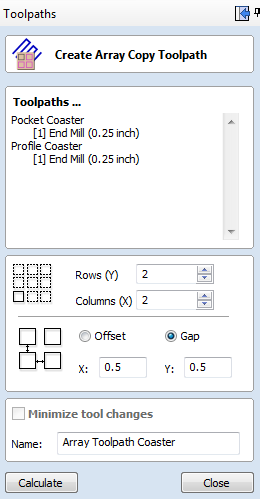
- Array Copy Toolpath
 found in the toolpath menu
- Copying vectors does not copy toolpaths – demo by making a simple coaster
 Once copies are made, a change to the master changes them all
- Process is:
- Create first set of vectors
- Make all required toolpaths
- Select Create Array Copy and fill in dialog box row, colums, offset, gap
- Most times click minimize tool changes
- Click Calculate
- Process is:
- Create merged Toolpath
 found in the toolpath menu
- Must use same tools in all merged toolpaths
- If you just save toolpaths with same tools, the program just cuts them sequentially, merging them makes the cuts more efficient
- Great way to eliminate long strange moves

- Create/Save Toolpath Templates
 found in the toolpath menu
 Tool path templates are a HUGE time saver and very versatile, today’s demo will create a simple template for making hinge holes for the recessed European hinges. This concept can be used in a much greater capacity to make parametric designs for many projects.
 Create vectors for each type of tool path on a separate layer.
- Create a separate toolpath for the vectors on each later
- Make the vector selection automatic by checking the “associate with toolpath” box in the dialog box below
- Make the toolpaths visible and Save the template using one of the two icon at the top
- Load Toolpath Template
 found in the toolpath menu
- Once loaded you will see the new toolpaths appear
- Double click on each toolpath and recalculate
- All vectors have been automatically and will now have their own toolpaths
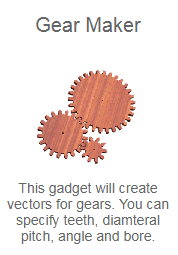
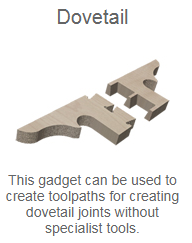
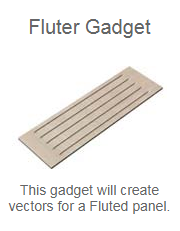
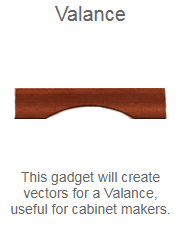
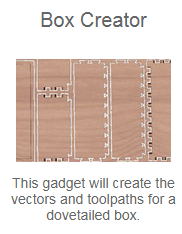
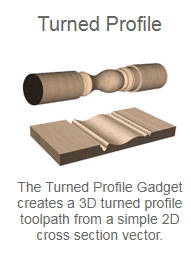
- Gadgets found on the main top menu
- Gadgets were reviewed in an earlier Demo. In that Demo we used the box creator, a sample is somewhere in the store. Here are some others.


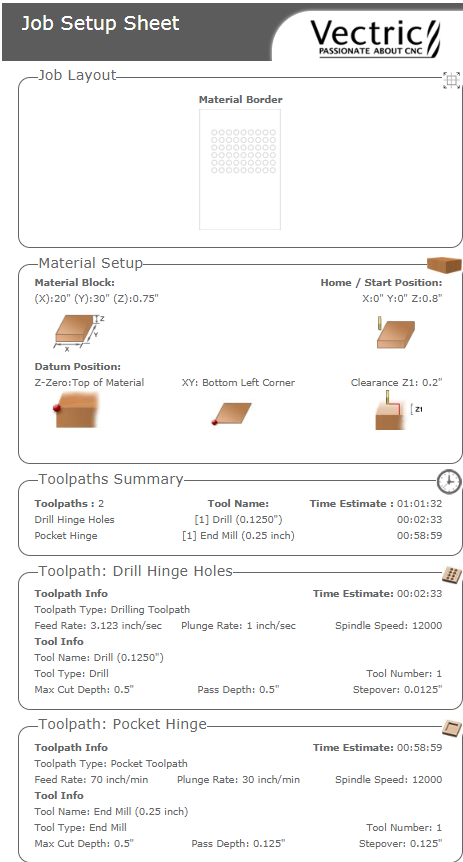 Create Job Sheet
  found in the toolpath menu
- Once tool paths are created and everything runs right in your simulations, creating a job summary sheet is a great tool to fall back on when doing similar jobs in the future. All vital tool info is summarized in one place.
- Process is:
- Click icon to create sheet, save it where you can find it
- Sheet can be modified in the Gadget menu “Job Setup Sheet Editor”
- Simply print the shhet if needed.
- Most of our machines do not actually use spindle speed from Vectric however I am now starting to change that info in my job files for items I think I’ll want to make again so that I will have the perfect settings next time I run it
- Process is:
- Once tool paths are created and everything runs right in your simulations, creating a job summary sheet is a great tool to fall back on when doing similar jobs in the future. All vital tool info is summarized in one place.
Question?
Ideas for next Demo…
Rockler CNC Demonstration #15 (future designation 2019-3)
March 2, 2019
Desktop vs. Pro (TJ)
SketchUp 1001 (Kenneth)
Today TJ’s Demo will focus on the additional software features found in VCarve Pro 9.5 vs Desktop 9.5 (no cutting) but many simulations will be run to help everyone understand how all these features work.
The follow features will be covered:
- No Size Limit Pro is not limited to a 24” x 24” work piece, Desktop requires “Tiling” to make something larger.
- Plate Production
 found in Drawing Menu


-
- Allows interfacing with Data from a .CSV (Comma Separated Value) file that can easily be generated from an Excel Spreadsheet.
- Example above will create a Rockler name tag with each associate’s name and position from the data in the spreadsheet.
- Based on name tag size, additional sheets will be created automatically as needed.
- Process is:
- Create Name tag layout
- Process is:
- Allows interfacing with Data from a .CSV (Comma Separated Value) file that can easily be generated from an Excel Spreadsheet.
Job size 10W x 8H
Material Clear Acrylic ¼” thick
Tag size 3” W x 2” H
Text Box 2.75”W x 0.5” H
-
-
-
-
- Make sure to delete the text boxes as no longer needed
- Create tool paths for:
-
-
-
Profile to cut out each name tag
Engraving for all text
-
-
-
-
- Select the entire name tag and associate the variables with the proper data in the .CSV file

- Select the entire name tag and associate the variables with the proper data in the .CSV file
 The result will creates 2 sheets filled with all the name tags based on the spreadsheet data and all associated tool paths
-
-
-
- Nesting
 found in the Drawing Menu
- Creates an automatic calculation to put as many parts as possible on to your work piece based on the options you choose.
-
- Process is:
 Create new job and create or bring parts in to job file:
- Process is:
-
- Creates an automatic calculation to put as many parts as possible on to your work piece based on the options you choose.
Open job with premade parts, size 20W x 30H
Set tool settings
Select parts to nest on sheet
Try various nesting setting
Enter number of copies
Apply and preview
- Array Copy Toolpath
 found in the toolpath menu
- Copying vectors does not copy toolpaths – demo by making a simple coaster
 Once copies are made, a change to the master changes them all
- Process is:
- Create first set of vectors
- Make all required toolpaths
- Select Create Array Copy and fill in dialog box row, colums, offset, gap
- Most times click minimize tool changes
- Click Calculate
- Process is:


- Create merged Toolpath
 found in the toolpath menu
- Must use same tools in all merged toolpaths
- If you just save toolpaths with same tools, the program just cuts them sequentially, merging them makes the cuts more efficient
- Great way to eliminate long strange moves

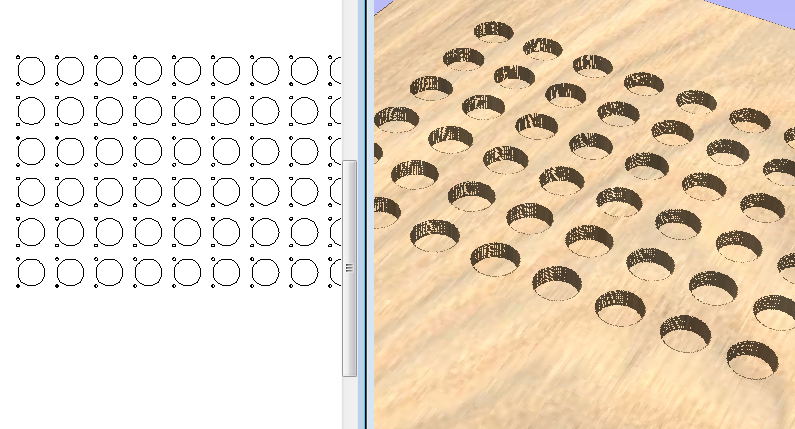
- Create/Save Toolpath Templates
 found in the toolpath menu
 Tool path templates are a HUGE time saver and very versatile, today’s demo will create a simple template for making hinge holes for the recessed European hinges. This concept can be used in a much greater capacity to make parametric designs for many projects.
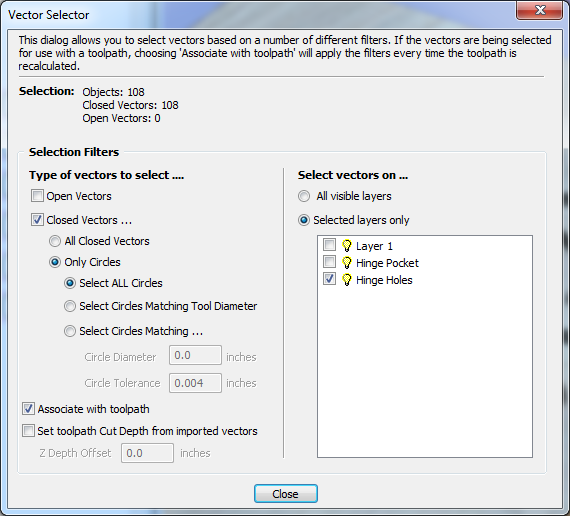 Create vectors for each type of tool path on a separate layer.
- Create a separate toolpath for the vectors on each later
- Make the vector selection automatic by checking the “associate with toolpath” box in the dialog box below
- Make the toolpaths visible and Save the template using one of the two icon at the top
- Load Toolpath Template
 found in the toolpath menu
- Once loaded you will see the new toolpaths appear
- Double click on each toolpath and recalculate
- All vectors have been automatically and will now have their own toolpaths
- Gadgets found on the main top menu
- Gadgets were reviewed in an earlier Demo. In that Demo we used the box creator, a sample is somewhere in the store. Here are some others.


 Create Job Sheet
  found in the toolpath menu
- Once tool paths are created and everything runs right in your simulations, creating a job summary sheet is a great tool to fall back on when doing similar jobs in the future. All vital tool info is summarized in one place.
- Process is:
- Click icon to create sheet, save it where you can find it
- Sheet can be modified in the Gadget menu “Job Setup Sheet Editor”
- Simply print the shhet if needed.
- Most of our machines do not actually use spindle speed from Vectric however I am now starting to change that info in my job files for items I think I’ll want to make again so that I will have the perfect settings next time I run it
- Process is:
- Once tool paths are created and everything runs right in your simulations, creating a job summary sheet is a great tool to fall back on when doing similar jobs in the future. All vital tool info is summarized in one place.
Question?
Ideas for next Demo…