
This month’s CNC lesson was on V-carve inlays, and if you missed it, you missed a lot of good information! Inland Woodworker’s instructor Rick Reimer taught those in attendance all about wood intarsia using a CNC router. He explained the steps necessary to cut the individual components, and then gave several tips on what not to do, based on his own trials and mishaps. Valuable information!
Rick began the class by sharing a few of his successful projects.
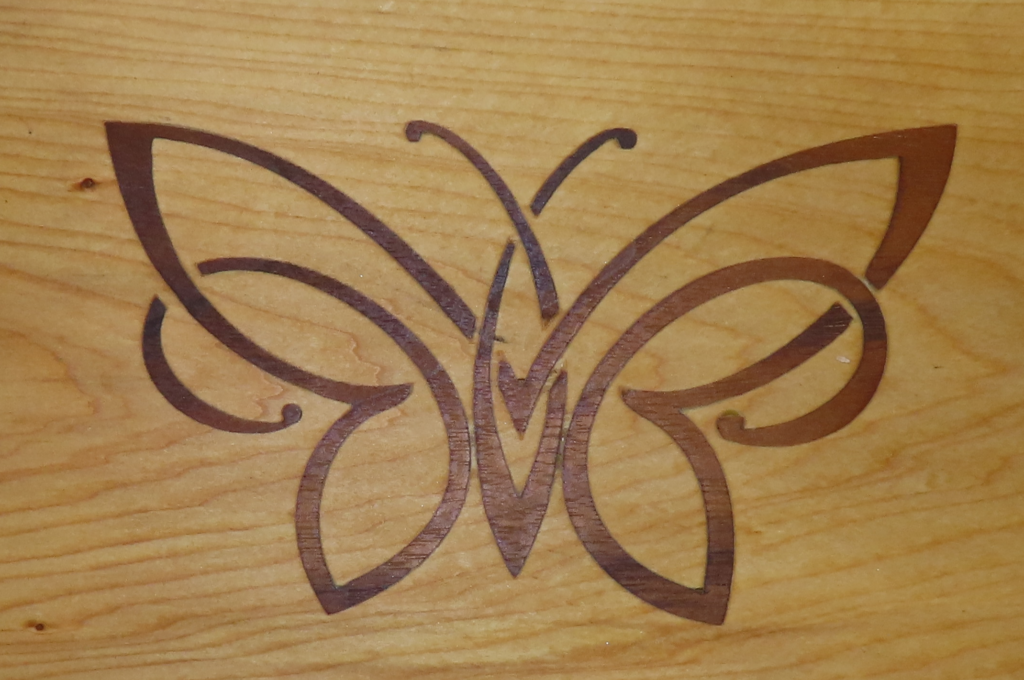
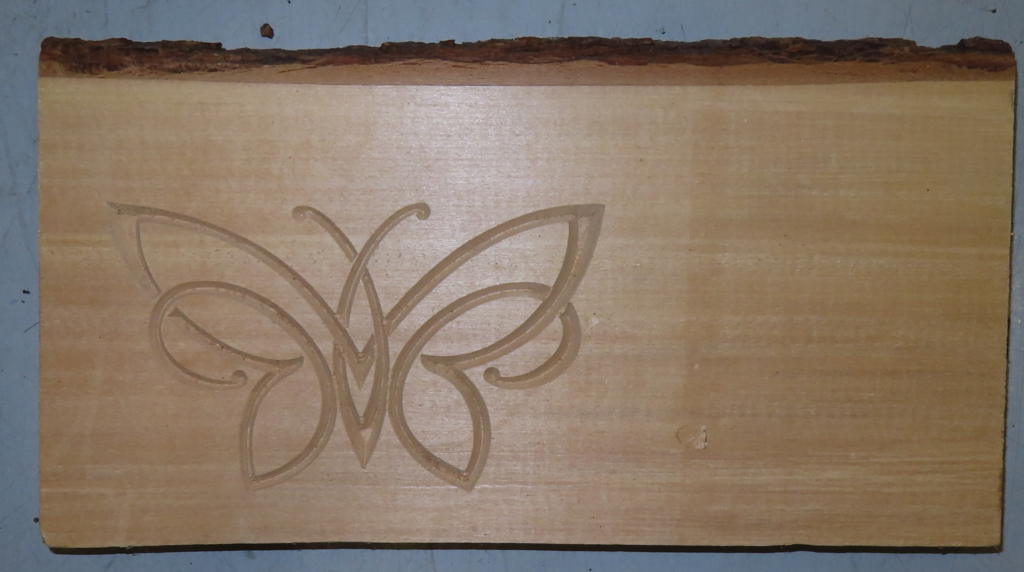
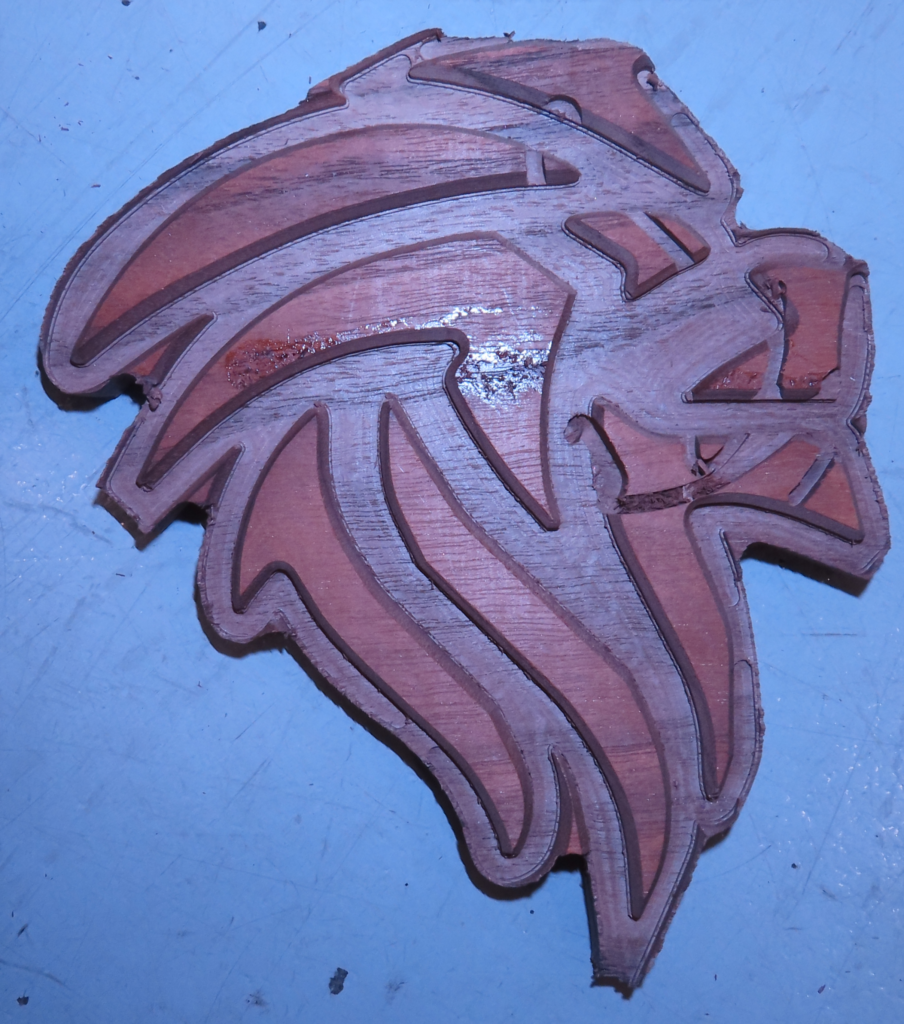
This piece came out so well that Rick reproduced it on a live edge board. Here is the base cutout:
The first step in making intarsia is to find the right image. The image of the lion for today’s lesson was found on the internet by searching for tribal art images.

After selecting an image, generate a bitmap and import it into Vectric. Set the job parameters based on the dimensions of your final product. Use the Trace Bitmap feature to convert the image to vectors, and then copy the vectors to the base image sheet. Note that Vectric recently added this new feature called Sheets. According to Vectric, the Sheets tab “allows for the creation and management of separate sheets within a project. Each sheet can have independent dimensions and properties.” For this project, the base part and the inlay parts can be saved in a single file, but machined independently using separate sheets.
Ungroup the vectors and perform any necessary cleanup (remove duplicates, overlaps, zero links, open vectors, intersections, etc.). Also, use the node editing features to optimize the vector sizes and smooth any rough edges. This all sounds easy, if you know what to do. Good thing Rick was on hand to explain these terms and show how to perform the necessary steps to generate a good set of vectors. Once the cleanup is complete, mirror the vectors to the inlay sheet and generate a profile using an offset. Then edit the profile to smooth the edges, as necessary.
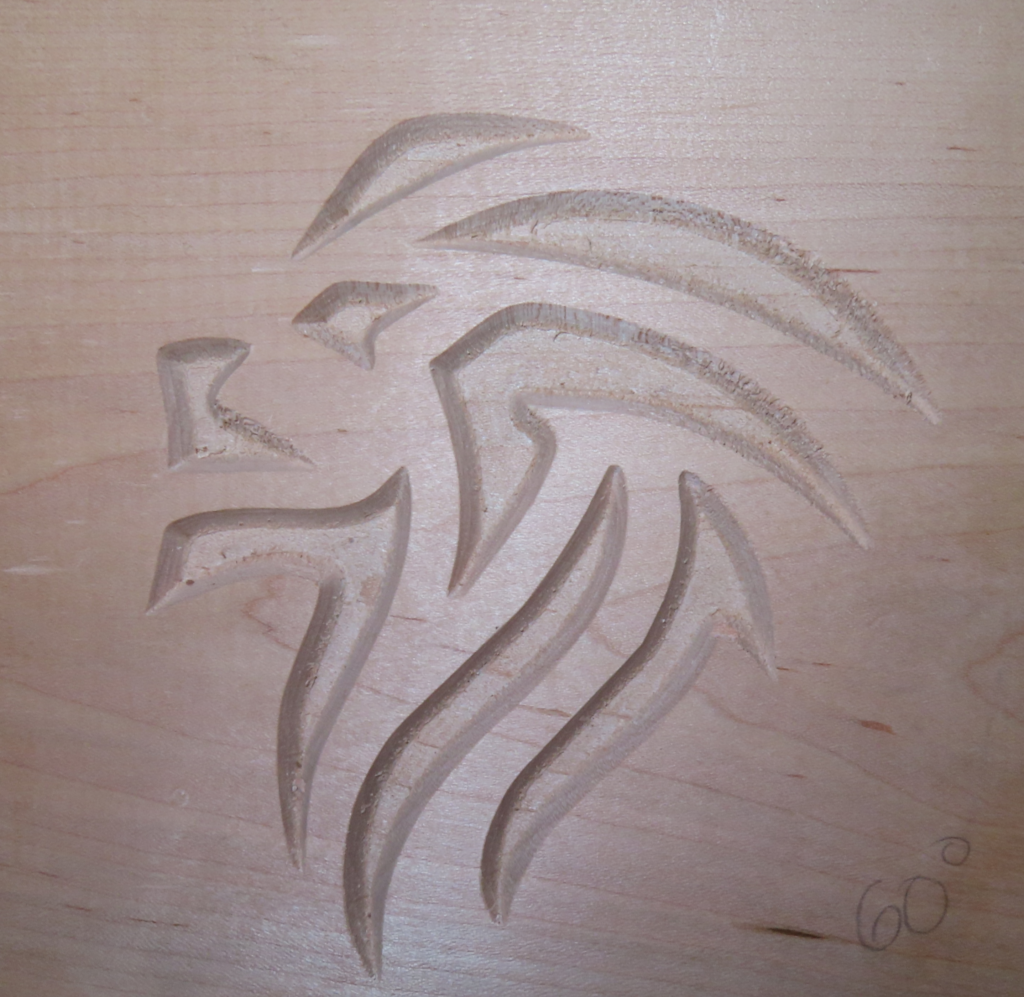
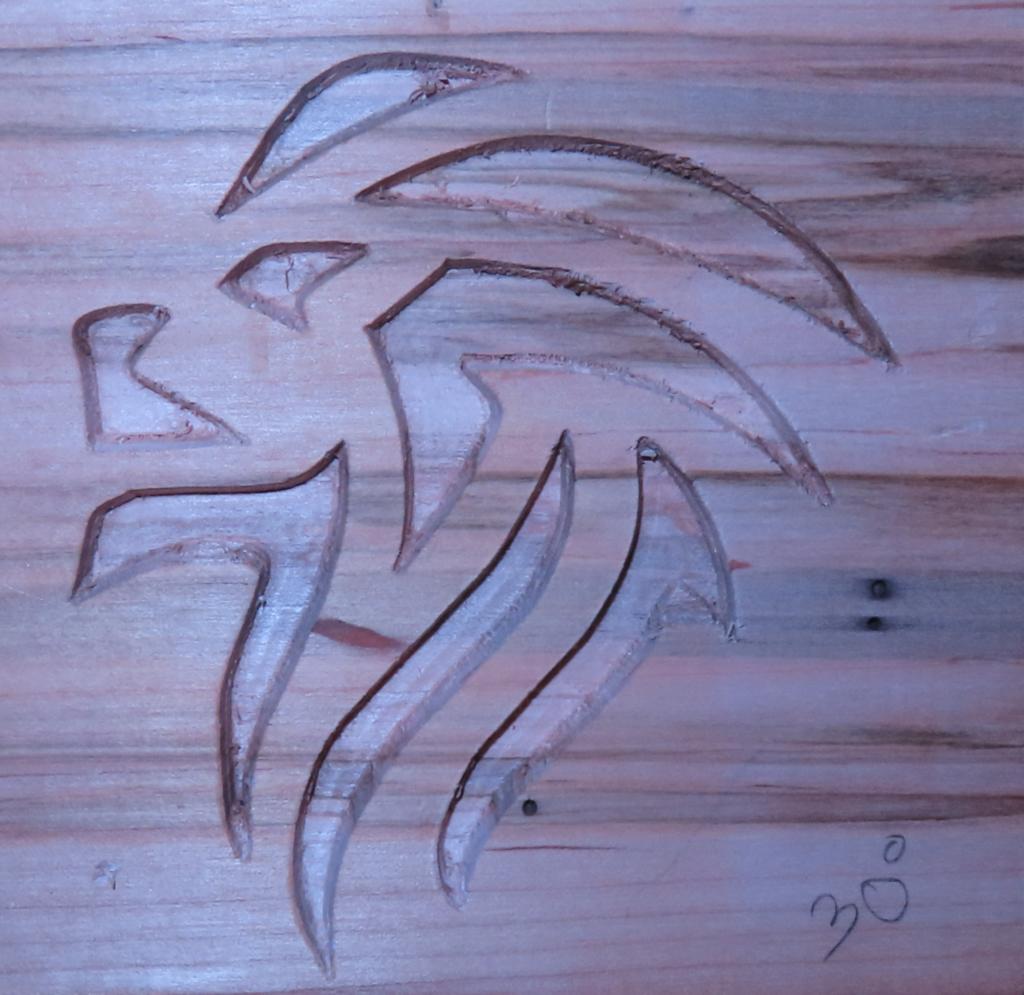
With a clean set of vectors, you are ready to create the tool paths by using the Engraving tool path option. For the base, this is achieved using two router bits: an endmill for bulk material removal, and a V-bit for shaping the inner edges. Here are some examples using a V-bit in ambrosia maple. The first is a 60-degree bit, and the second is a 30-degree bit.

For the inlays, the V-bit is used to cut the outer edges, and the endmill is used to hog out the material between the pieces. Use offsets to make the inserts slightly larger than the cutouts so that they sit above the bottom surface. This will provide space for the extra glue below the inserts.
Once the two components are machined, apply glue and press-fit them together. Depending on the accuracy of cuts, the boards may require heavy clamps or even a hydraulic press to squeeze them together. After the glue has set, the inlay portion and be milled down until the waste portion is removed.

The inlays can then be sanded flush with the base, or left slightly extruded. Finally, finish the surface using your preferred wood finish products.
Rick provided several tips for improved machining: 30-degree versus 60-degree bits, end grain versus face grain, the machinability of different wood types, how to avoid edge chipping, positioning the Z-axis (tricky with a pointed bit), and determining the order of the cut (V-bit or endmill first).
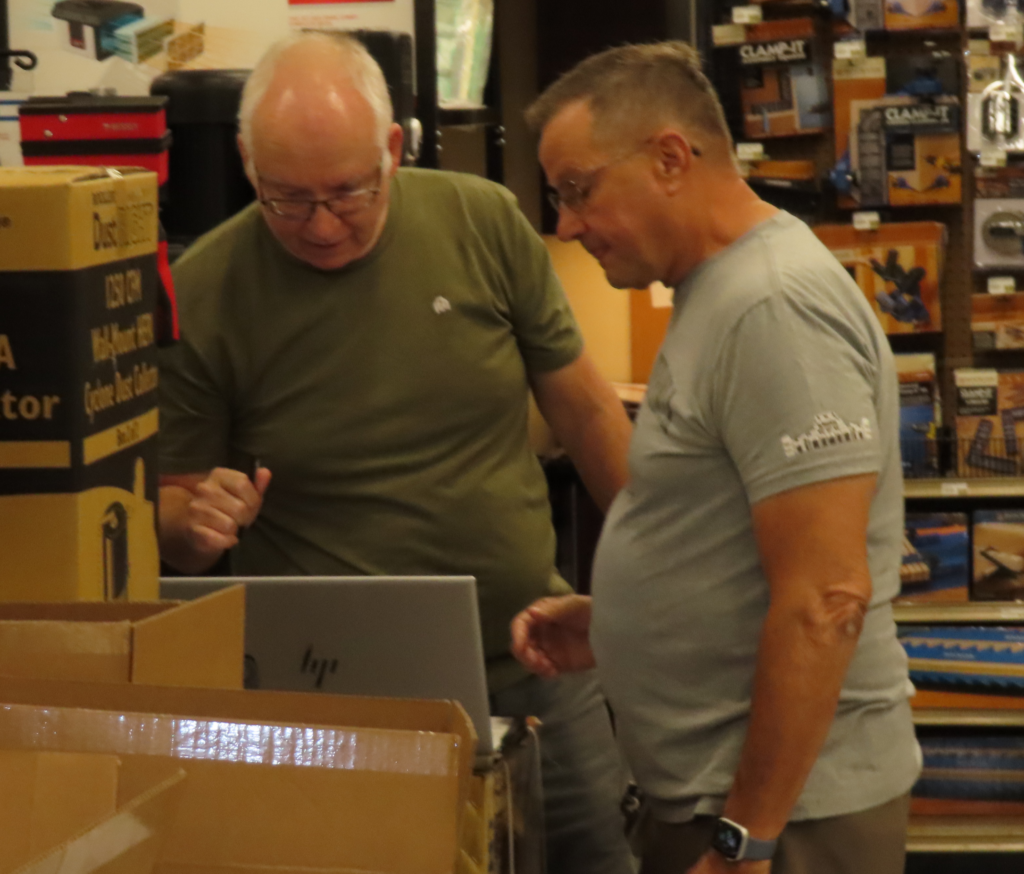
Exchanging information with others is a great way to reinforce the day’s lesson. Here are club members Brett Nissley and Matt Martel working through a few of the intricacies of the vectric software.