

The rain had finally taken a break, long enough for the inland woodworkers to convene at the Rockler Ontario store for their monthly CNC training. The day’s topic was Standard Inlays, and was led by T. J. Imholte. There were nine CNC’ers in attendance.

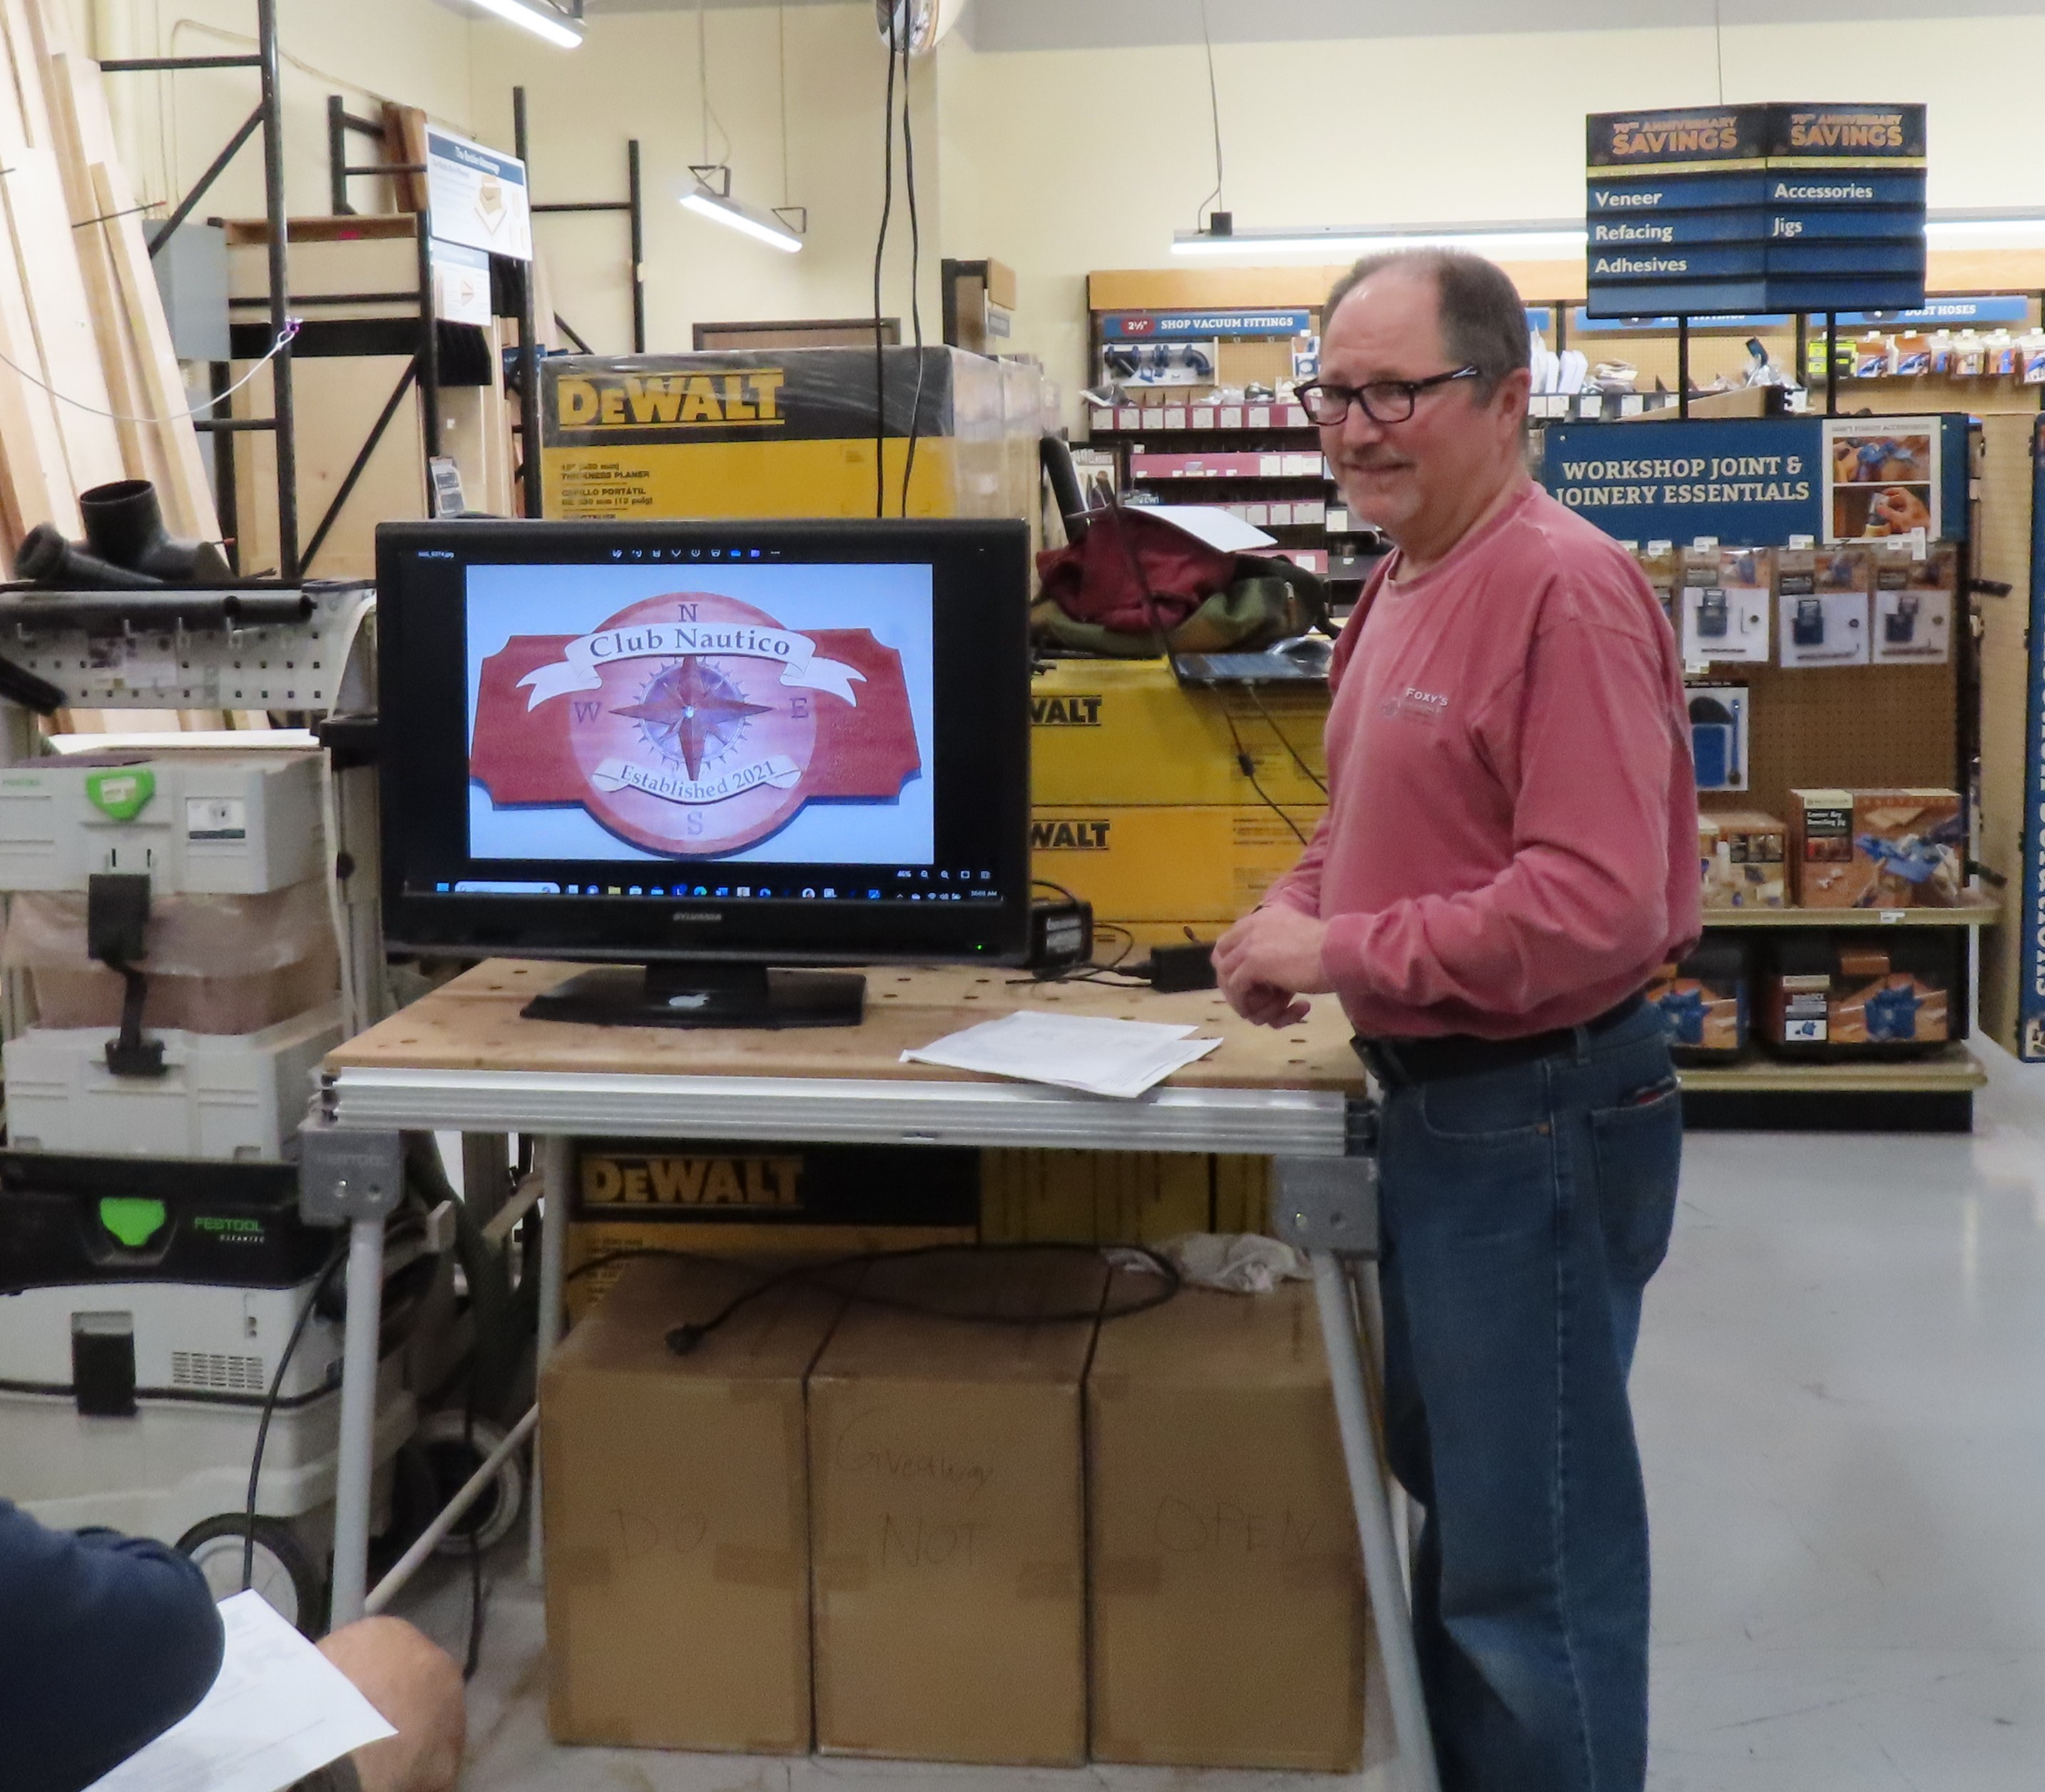
To introduce the concept of inlays, TJ shared a few of his prior projects. The first plaque was made from mahogany, bubinga, African mahogany, and other exotics.


The technique for making pocketed inlays includes routing pockets in the base to hold the letters, and cutting letters from the inlay material. TJ recommends cutting the letters first, and then the pockets. That way, when dry-fitting the parts, if the fit is too tight, the base is still on the machine and can be recut.
For today’s lesson, TJ opened Vectric and created a new project. He set the job parameters based on his board dimensions. He created two sheets: one for the pockets and 1 for the letters. This was achieved by using the Sheets tab in Vectric. He began with the Pocket sheet and placed the letters using a router-friendly font; in this case, Verdana Bold. Avoid using fonts that cannot be machined, such as those with sharp or tight corners. Adjust the spacing and position of the letters. Next, he copied the letters to the Letter sheet. Move the letters around to best utilize the material. Each letter can be relocated individually; just don’t change the dimensions of the letters.
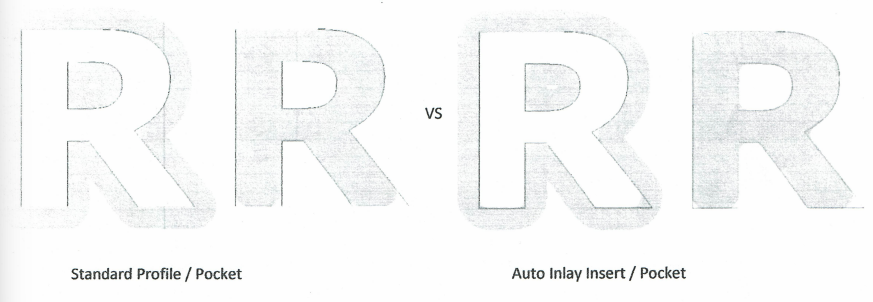
Now it was time to establish the tool paths. Here was an opportunity to capitalize on the Vectric software. By choosing the Inlay Toolpath option, Vectric will adjust the pockets and letters to round the corners based on the diameter of the router bit. Remember, when cutting inlays, use a square router bit, not a V-bit.
Set the cutting parameters appropriate for the CNC machine and the bit diameter. Use a slow travel speed for cutting the letters. In this example, TJ used a 1/16” diameter bit, set the feed rate at 35 IPM, and set the plunge rate at 20 IPM. He also used ramps to ease the stress on the tool.

TJ does not use tabs when cutting the letters. Instead, he cuts the letters about 0.01” above the bottom surface, and then sands off the remaining portion to release the letters. He uses tape on the top surface to hold the letters in place.
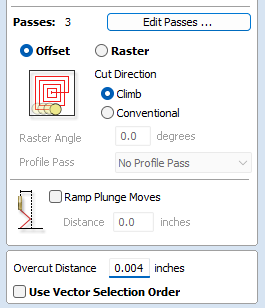
If the pockets are cut to the same sizes as the letters, the parts will need to be pressed fit. Not good when working with wood. Glue and air will be trapped and the letters will not seat on the bottom. To avoid this, cut the pocket slightly larger using the Overcut Distance feature. TJ recommends using 0.004” as a starting reference. You can see this on the 2D view.
Following the lesson, the group engaged in a lively conversation, covering topics like pocket depth for cutting boards, importing vectors, using bitmaps, and inlaying pockets on end grain. For end grain, TJ recommends using the same process and cutting the letters using end grain as well. If the letters are cut as face grain, they will expand and contract at a different rate than the end grain, leading to cracking.
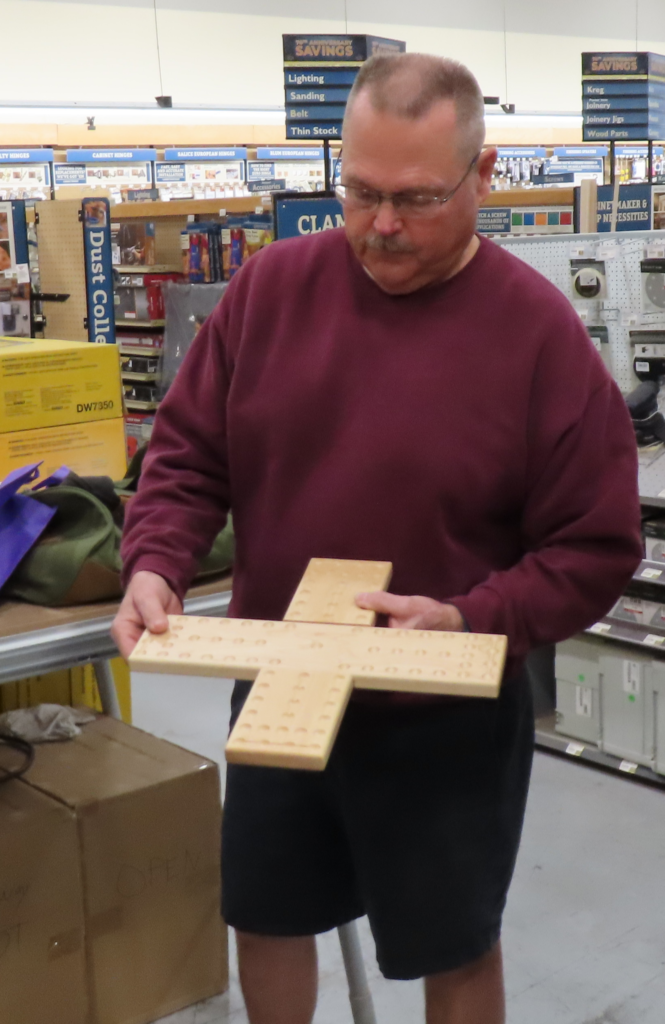
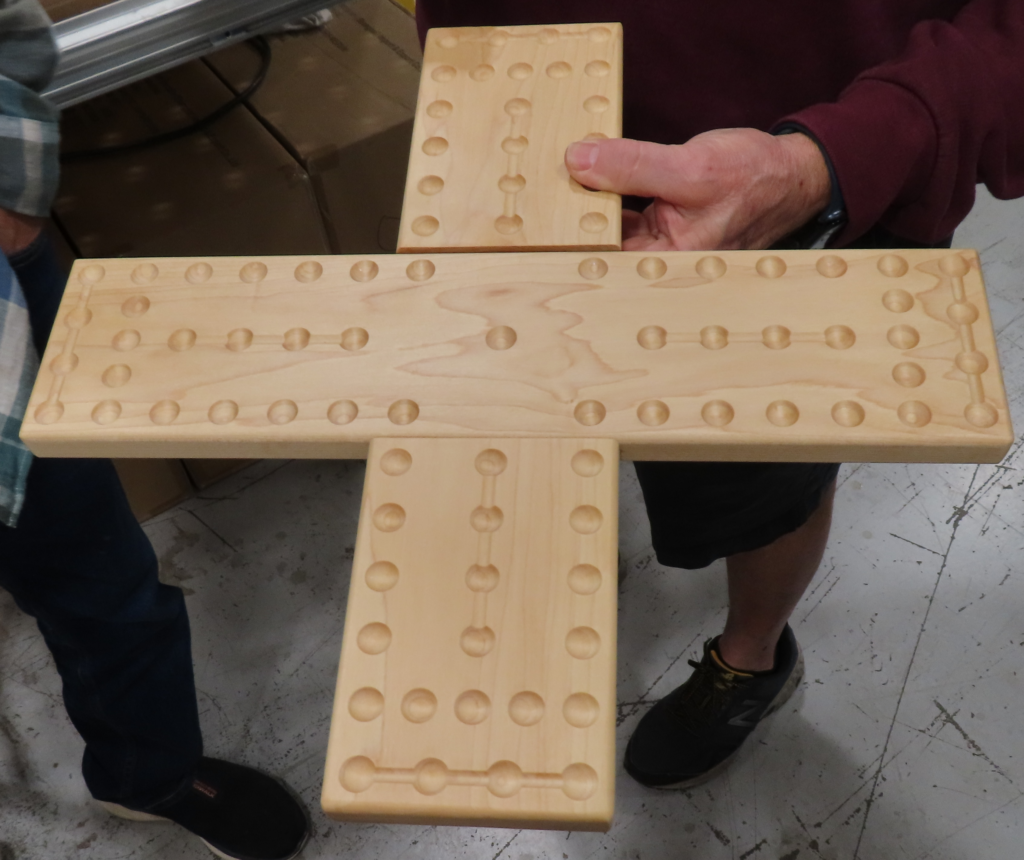
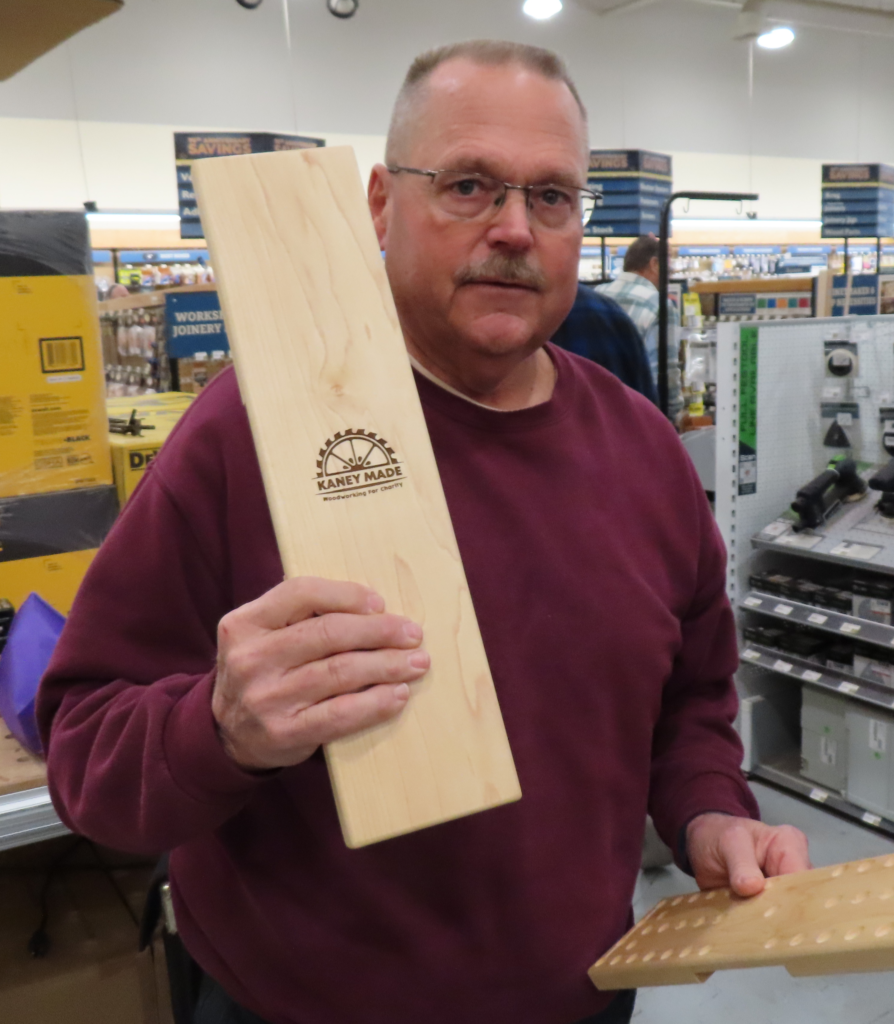
Show & Tell
Tom Kaney shared a game board (Aggravation!) that he created using his CNC machine. The board is made from maple and finished with General Finishes Bowl Finish. He used a 5/16” core box bit from Rockler to cut the round holes for the marbles, and a 1/8” router bit for cutting the grooves. Tom also used a laser burner to engrave his signature logo.
Special thanks to Tom Balderrama, the new manager at the Rockler Ontario store, for his continued support of the Inland Woodworkers club.