43
Rockler CNC Demonstration #7
2 Sided Project Discussions
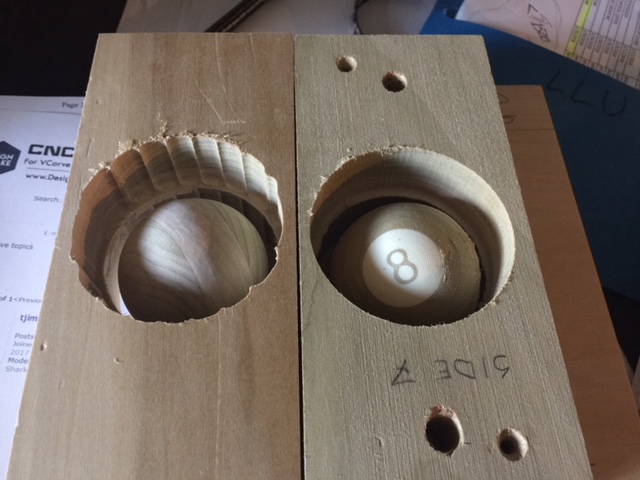
Create an “8 Ball”
July 6, 2018
2 Sided General
- Review bad jig / part
- Jig Design
- Needs to work based on how you plan to flip part to other side
- Pin style
- Wooden dowel
- Steel pins
- Absolute zero
In VCarve : Create Design
- Start new file
- Select 2 sided
- 3” x 7” x 2.25”
NOTE: For the flip orientation chosen for this Demo, measure width and use actual vs 3”
-
- Discuss Datum in CENTER
- Select Flip direction
- Hi Res
- Create 8 and circle
- Text – Ariel Rounded MT Bold
- Text Size .5”
- Bold
- Move to center
- Create 1” circle around 8 at the center
- Right click and “copy to other side”
- Go into clipart and select “Dome Dish 90”
- Set Size to 2 1/8”
- In Properties Set Height to 1.0625”
- Right click and “copy to other side”
- DONE ready to make TOOL PATHS
In VCarve : Create TOOL PATHS
- Go to Material Set Up
- Add 1/16” gap beneath model
- Explain
- “Pocket” toolpath
- Set depth to 3/8”
- Select 1/8”EM, Edit with pass depth 1/16”, 65% Step over, Feed rate 30
- “3D Roughing” toolpath
- Select ¼” BN, Edit with pass depth 3/32”, 65% Step over, Feed rate 75
- Select Model Boundary
- Boundary Offset 0.1875”
- Machine Allowance 0.04”
- Select 3D Raster
- Name and calculate
- “3D Finishing” toolpath
- Select 1/4”BN, Edit with pass depth 5/32”, Feed rate 40, step over 9%
- Select Model Boundary
- Boundary Offset 0.125”
- Area Machine Strategy – Offset
- Name and calculate
Discuss overall fabrication process
Questions?
Topics for next meeting?

