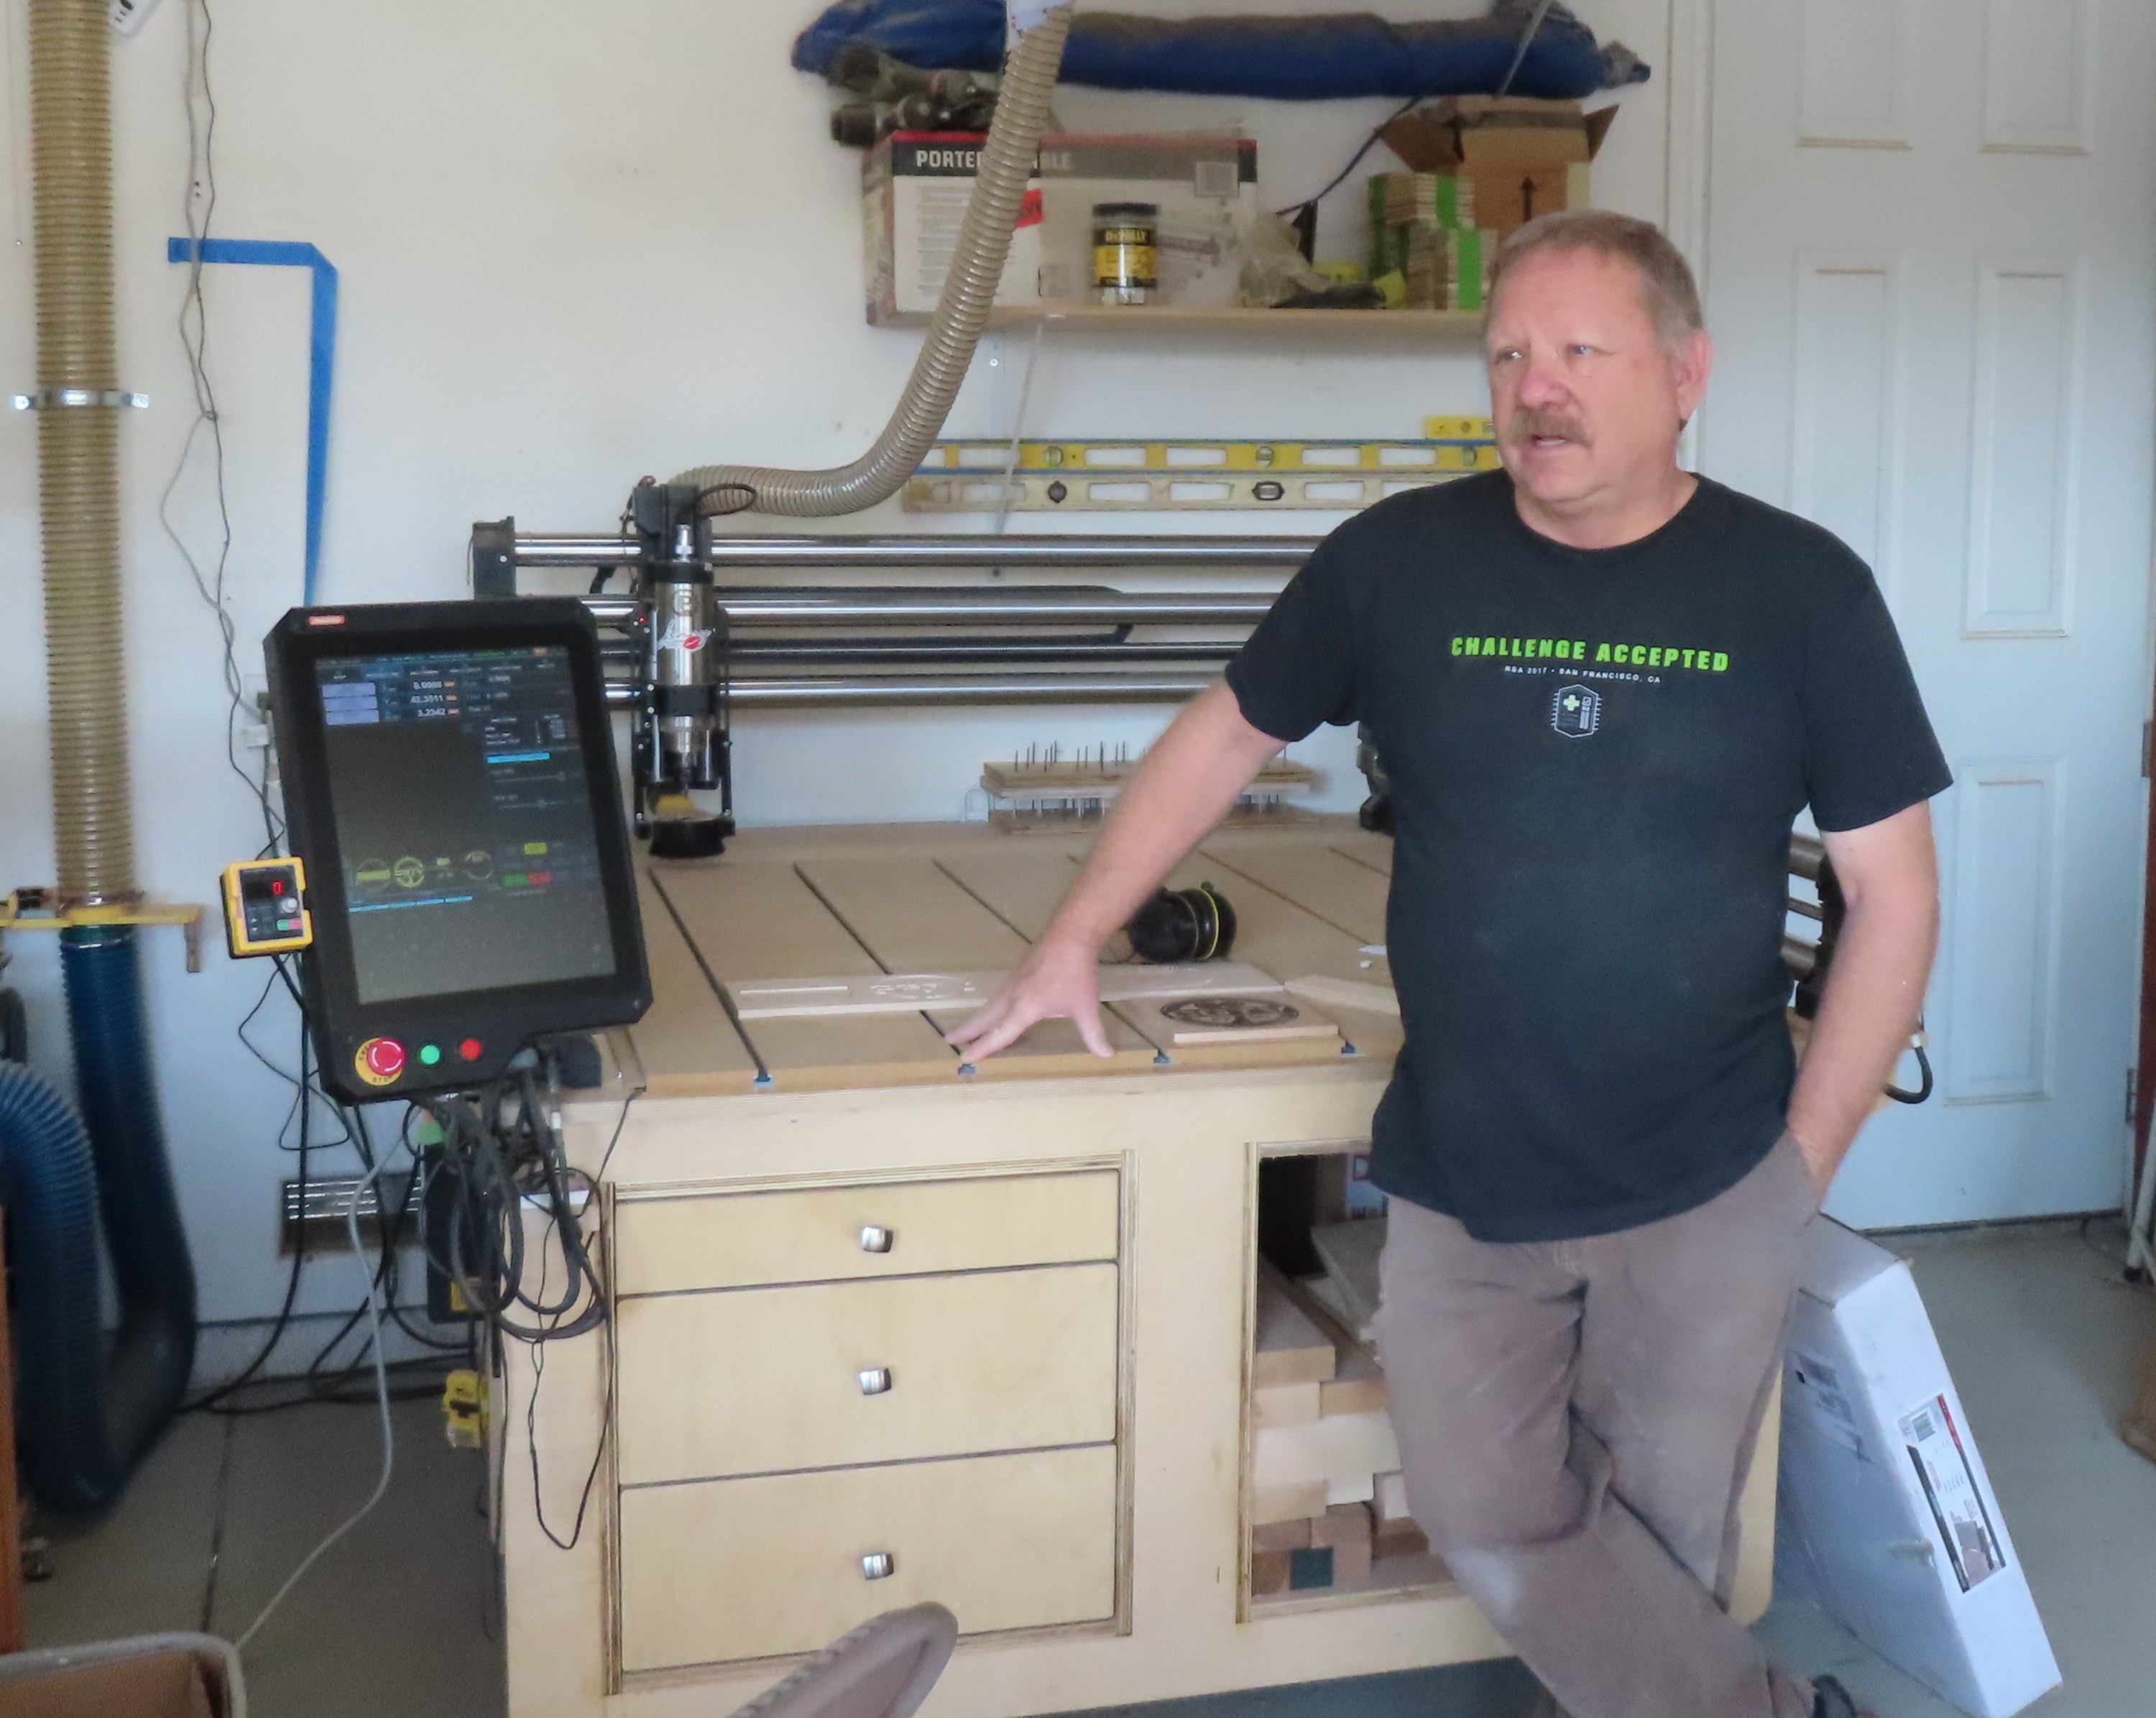
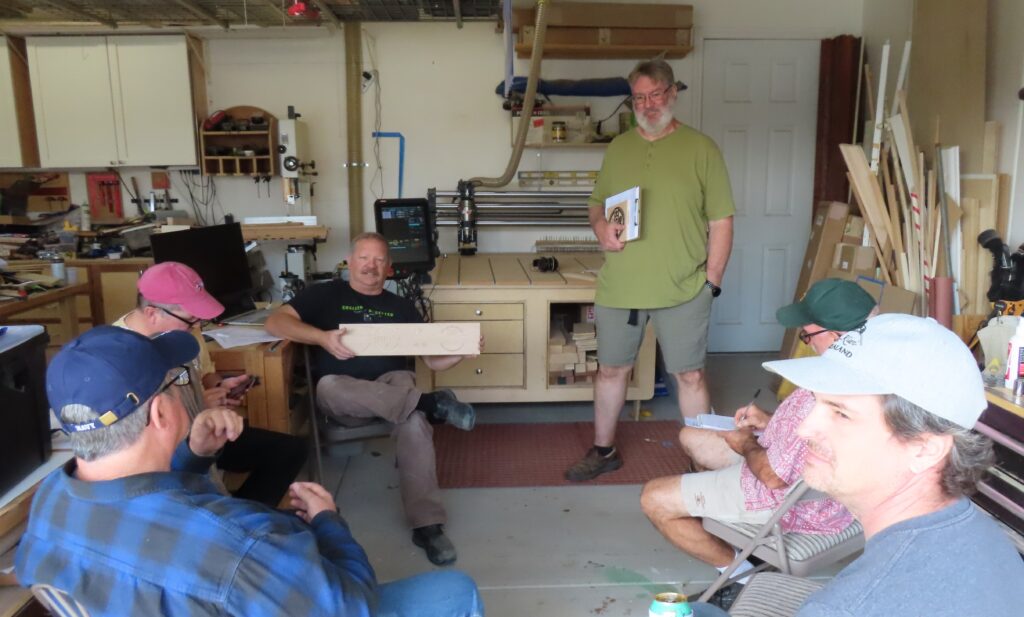
If you’ve ever wondered about using epoxy to supplement your CNC projects, today’s class was the perfect opportunity to learn all about this technique. The instructor was Rick DuVall and there were 7 in attendance. Rick was also the host of the day’s event. His shop includes a OneFinity 4’ x 4’ Elite CNC router, to which he added an extra horizontal stiffener to increase stabilization.

Before starting the instruction, Rick showed off his new craps table. Many of the components were machined on his CNC router using techniques gleaned from the Inland Woodworkers training classes.

The group welcomed new member Jeff Tronti, who is new to CNC machining, doesn’t yet have a machine, and is excited to learn all about CNC routing.

Then, onto the topic: Multi-Color Epoxy Inlays. For this design, Rick used red, white, black, and green epoxy. He created a Vectric layer for each color and set the ink color of each layer to match the epoxy color. With this technique, Rick was able to hide a layer, which allowed him to hide that color’s contribution to the project. When a layer is locked, the elements on that layer are not selectable. Hiding a layer also achieves the same result.

Once the design was in place, Rick transitioned to the machining aspect of the project. He began by pocketing each of the various colors. He then coated the pockets with a clear epoxy to seal the wood. Rick noted that some wood varieties are porous, and pouring a colored epoxy could bleed into the pores. Using a clear epoxy will seal the pores and not be visible in the final product. However, this technique requires each color to be re-cut. Once the initial machining is completed, the first color is re-pocketed and the resin is poured.
It takes days for each color to dry. If the machine is not needed, the project can be left in place. Otherwise, it is essential to have an accurate index established. The process is then repeated for each color. Rick uses a low-pressure blow dryer to warm the poured epoxy, which helps to remove air bubbles.
Rick has experimented with many epoxy brands and styles. He shared some of his finding, noting that fast cure epoxies can be brittle and slow cure epoxies take a long time (days) to dry. Table-top epoxy can only be poured in thin layers, whereas deep pour epoxy can be poured in much thicker (3/4” or more) layers. Be cautious when sanding the epoxy; it could heat the resin and cause warping or melting. Sand a small area, then move to another section while the previous section cools. And remember to wear a respirator mask when sanding epoxy.

The original project included one colored (black) epoxy. This new project (still in work) will have one colored epoxy poured into another colored epoxy. Since epoxy is softer than most woods, it is possible to use the same router bit for wood and epoxy. Rick used a 30-degree V-bit for this project. He reminded us to slow the spindle speed and travel feeds for the epoxy, otherwise, the resin could melt or disform. Rick uses Teexpert epoxy & hardener: https://teexpert-resin.com/collections/all?sort_by=manual&filter.p.product_type=epoxy+resin. Art Resin offers colorant options: https://www.artresin.com/collections/colorant.

In January, Ken Thomas will give a class on designing and building a small vacuum table. This will be a great opportunity to learn the ins & outs of vacuum systems. He will discuss vacuum pumps vs shop vacs, and MDF vs perforated tops.
