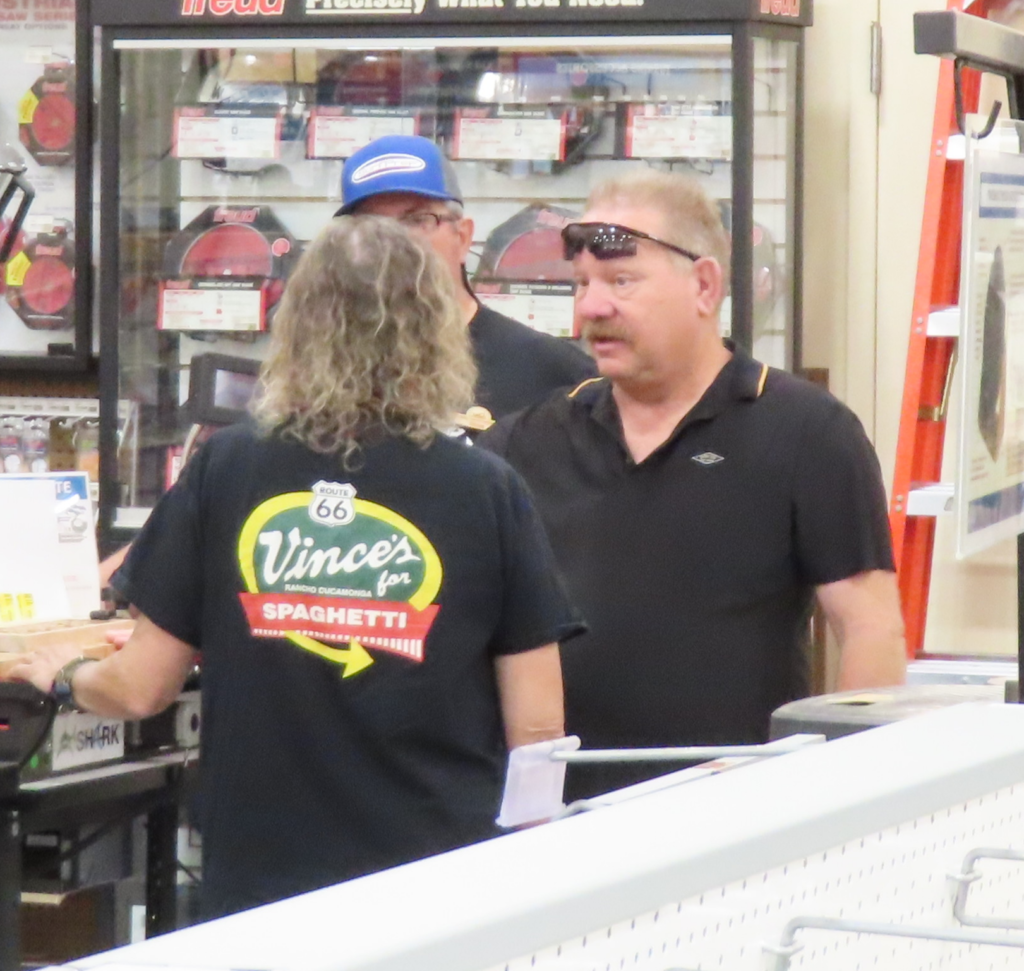
This month’s CNC training was held at the Rockler Ontario store on Saturday, September 9th. The day’s topic was work holding on the CNC machine, and the trainer was club president Mike Trejo.

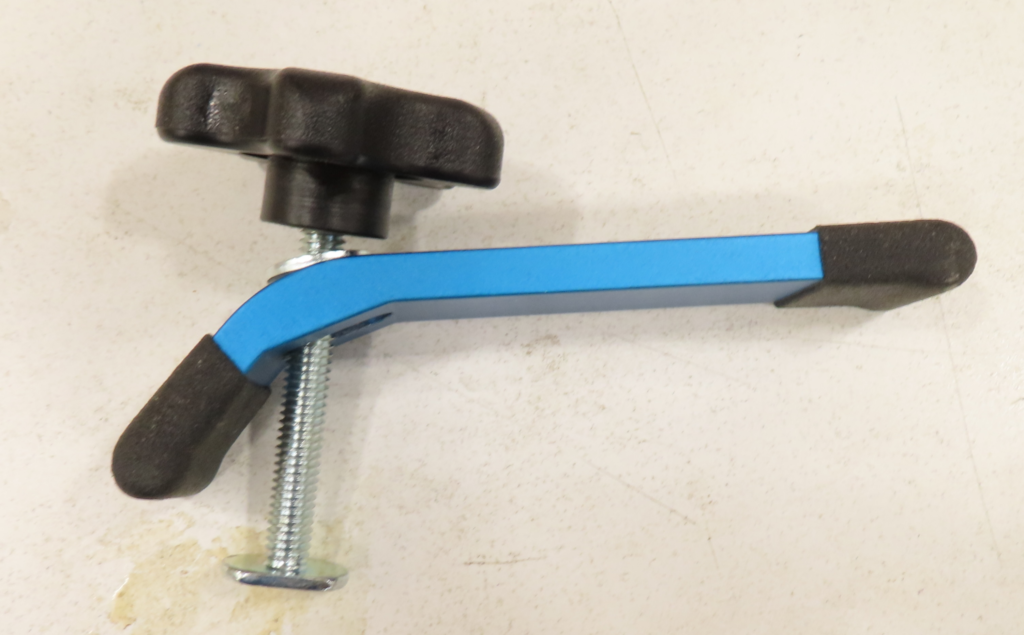
The most common clamping mechanism is top clamping using commercially available T-track clamps. Each clamp consists of a T-bolt, star knob, and hold down. The T-bolts come in different thread sizes (1/4 and 5/16 inch diameters being the most common) and lengths. The hold downs are also available in different lengths.
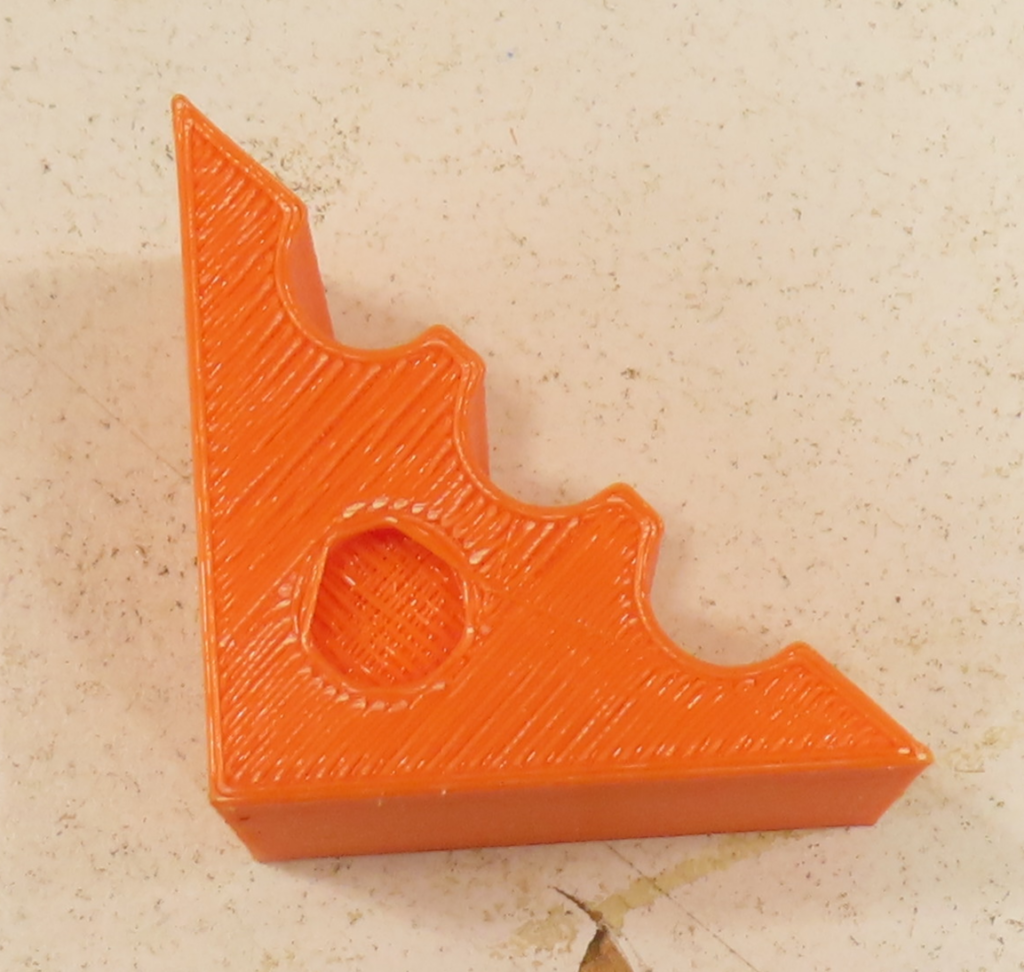
Another type of clamp is the step setup clamp. Mike made this 3-D printed step block:
These clamps can be used with straight hold downs for either top clamping or edge clamping:
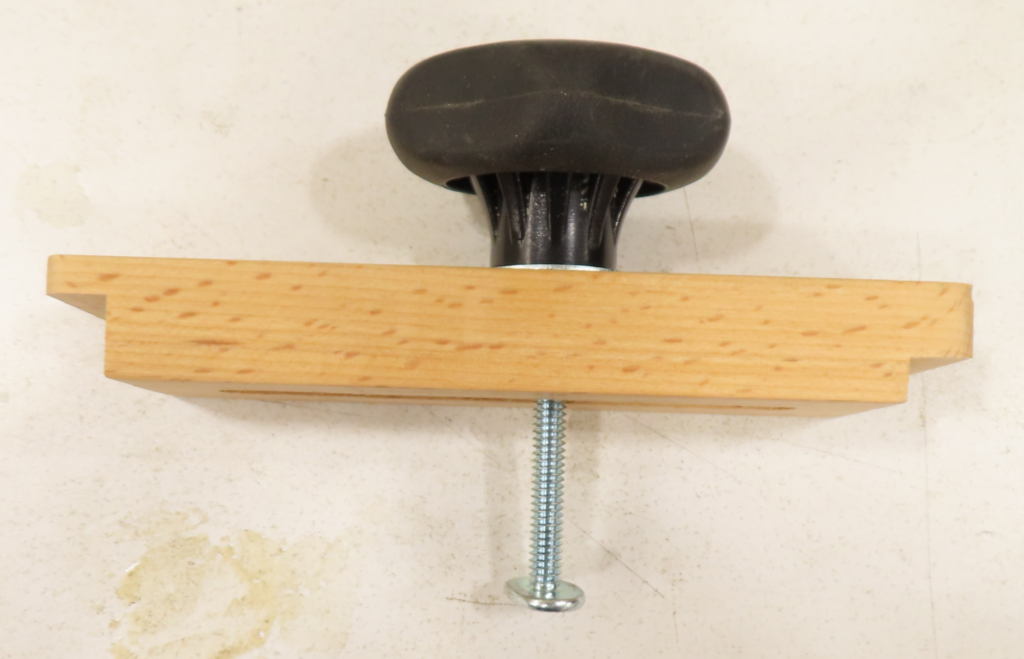
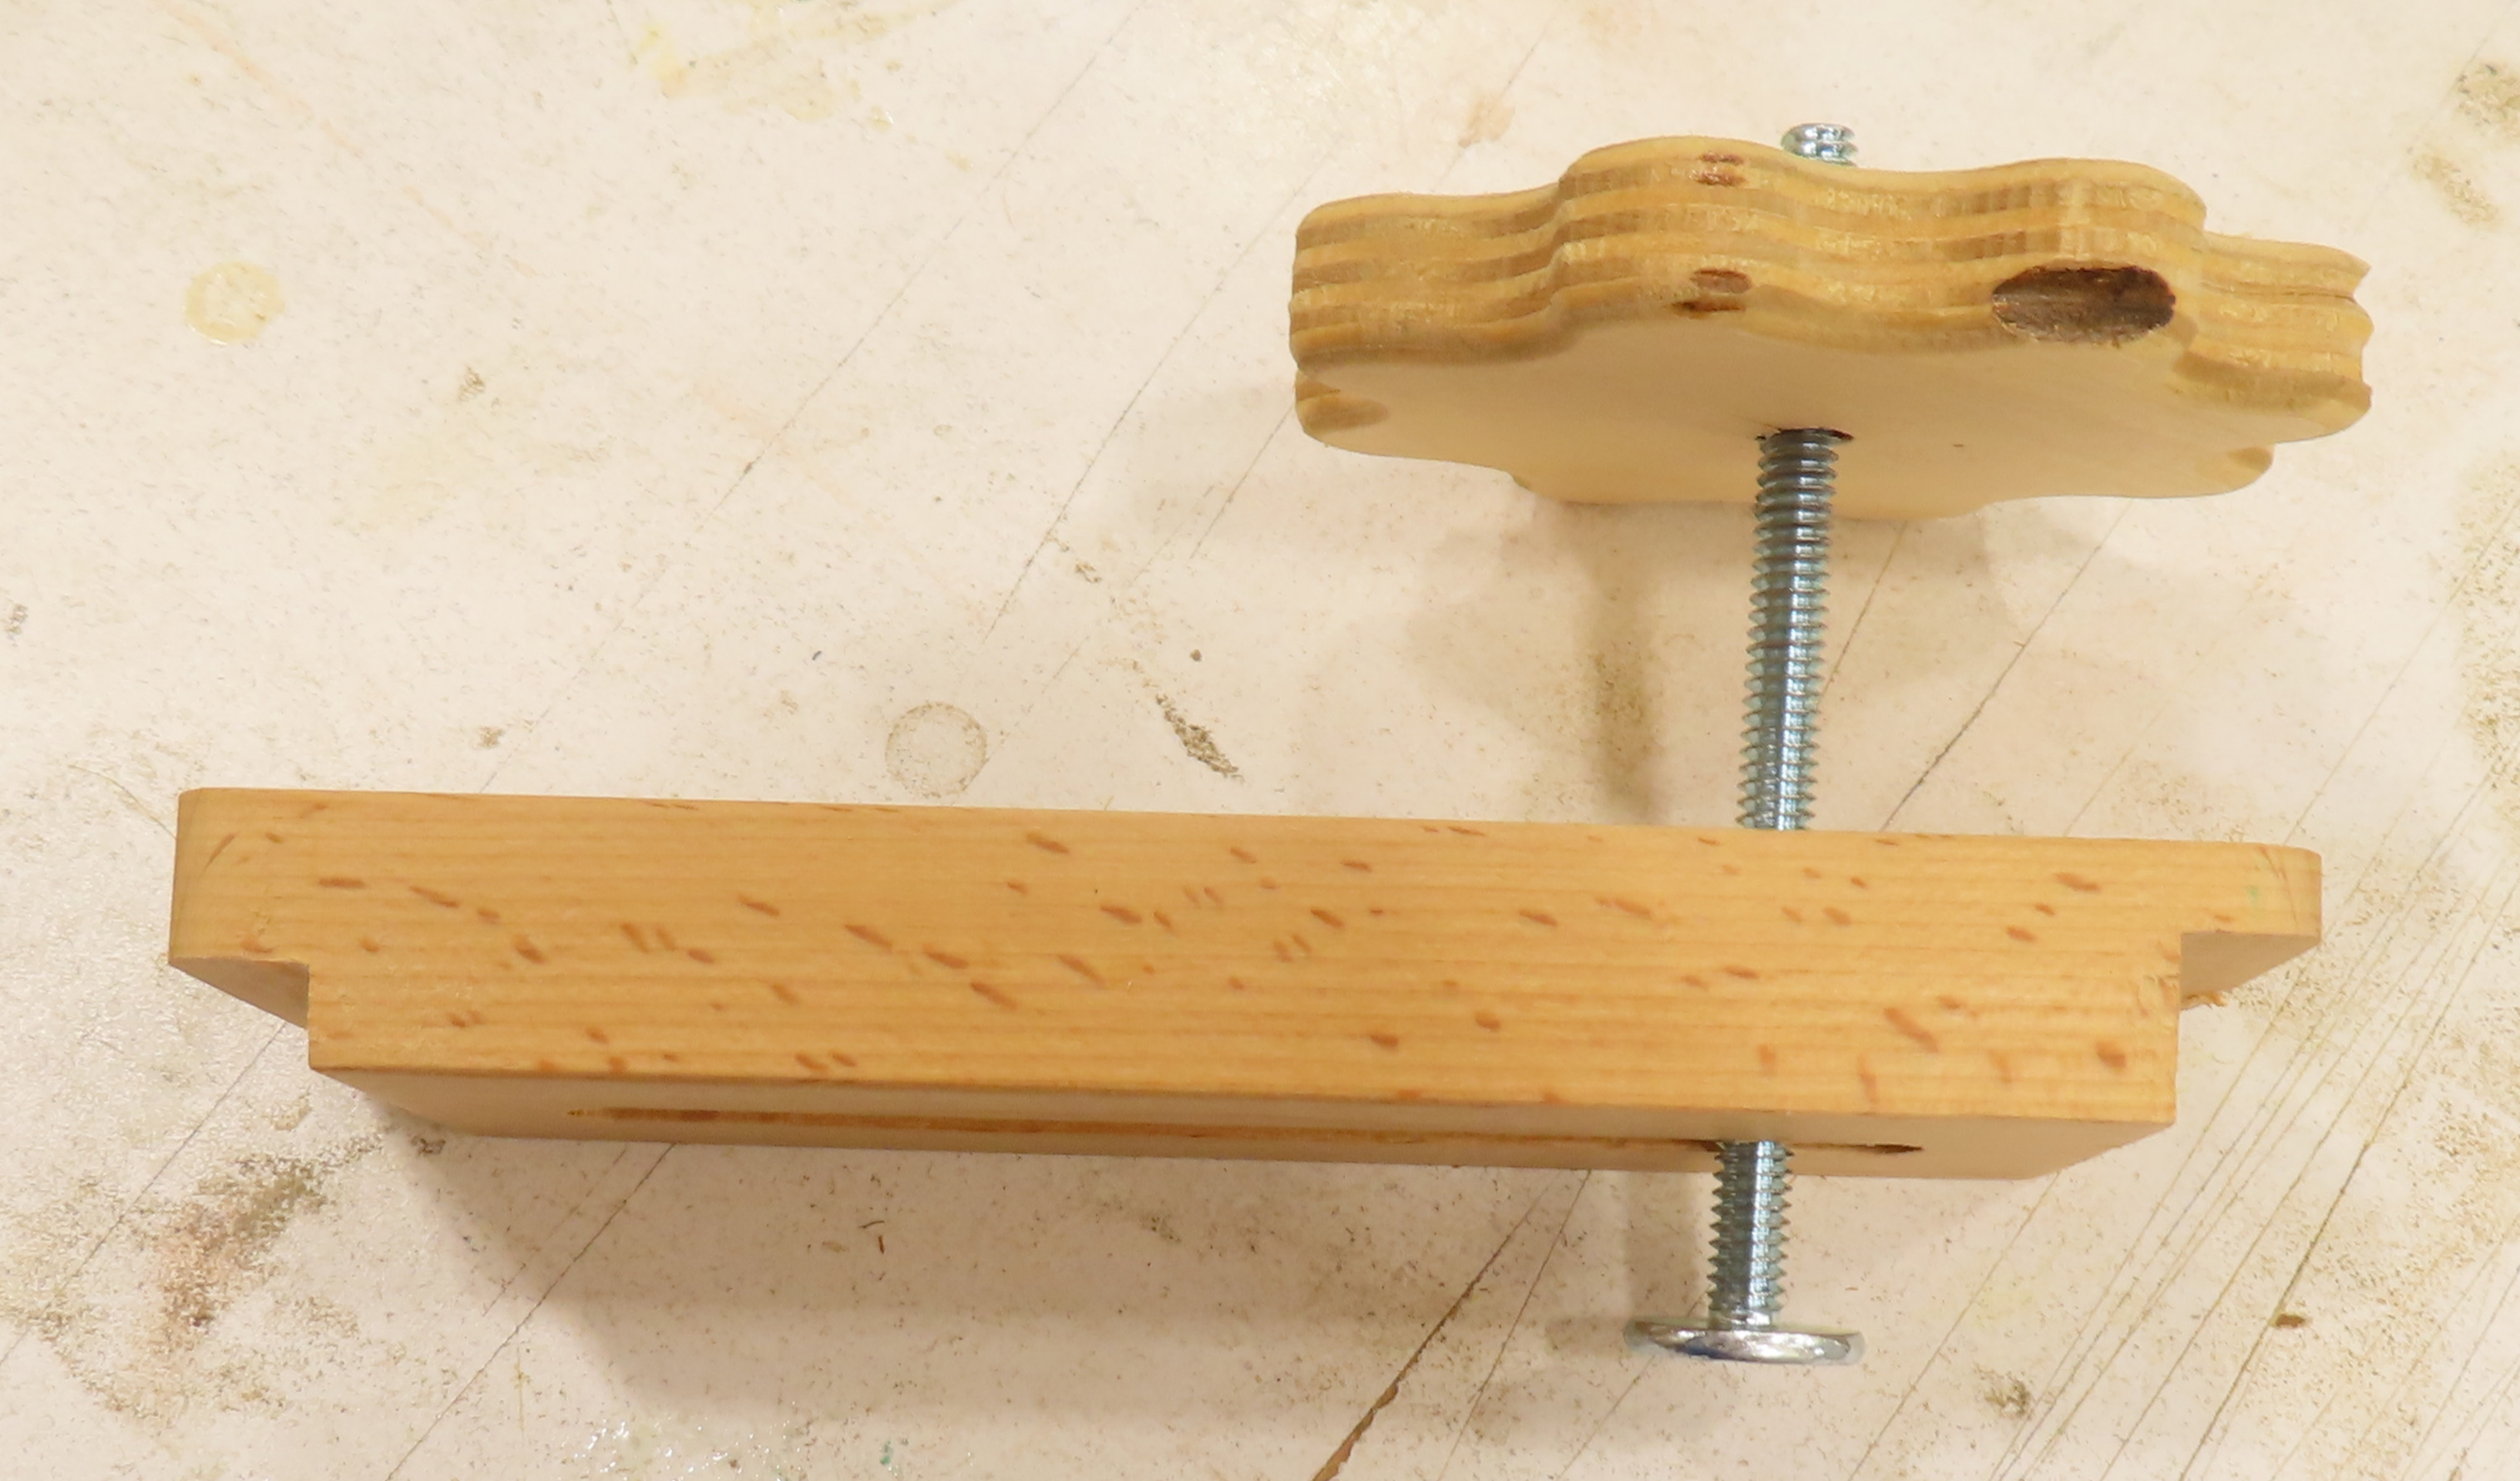
Mike also created his own star knobs.

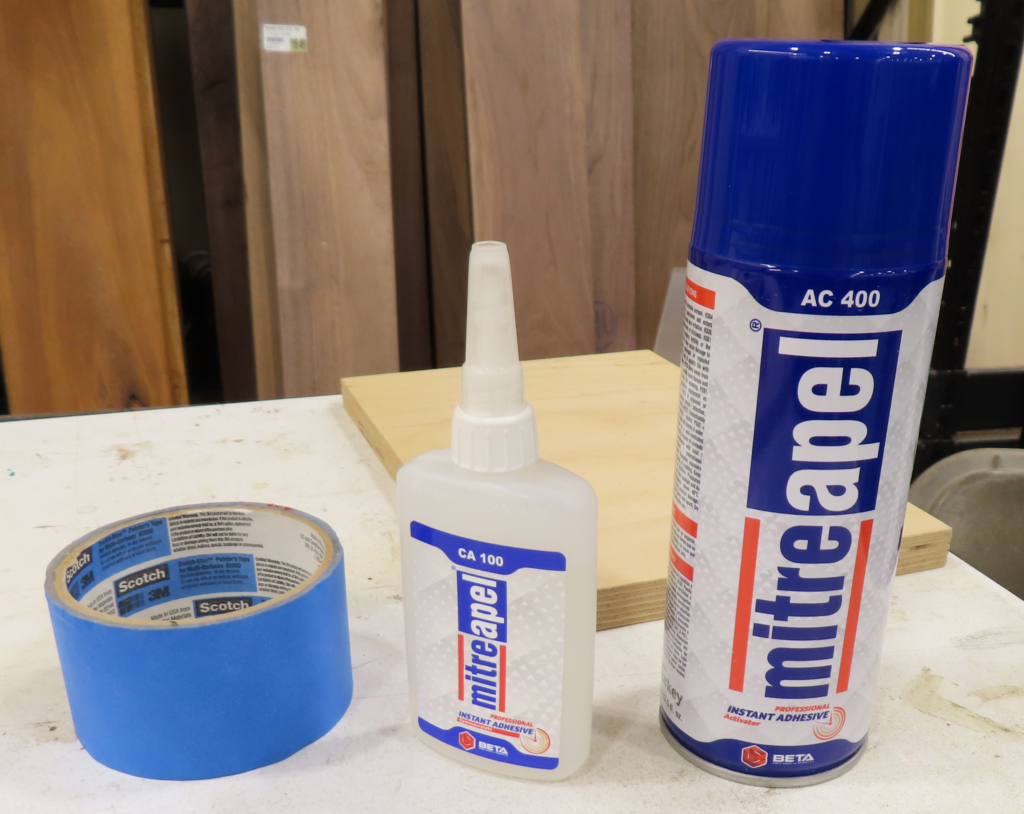
Another popular clamping mechanism is the painter’s blue tape and cyanoacrylate adhesive (super glue). Apply the tape to the spoil board and to the bottom of the part to be cut. Make sure the surfaces are flat and dust free. Use the glue container to rub out any air bubbles and completely flatten the tape. Apply small drops of glue on the spoil board tape and spray accelerator on the work piece tape. Then, align the tape, press the pieces together, and hold for 10 seconds to allow the glue to bond.
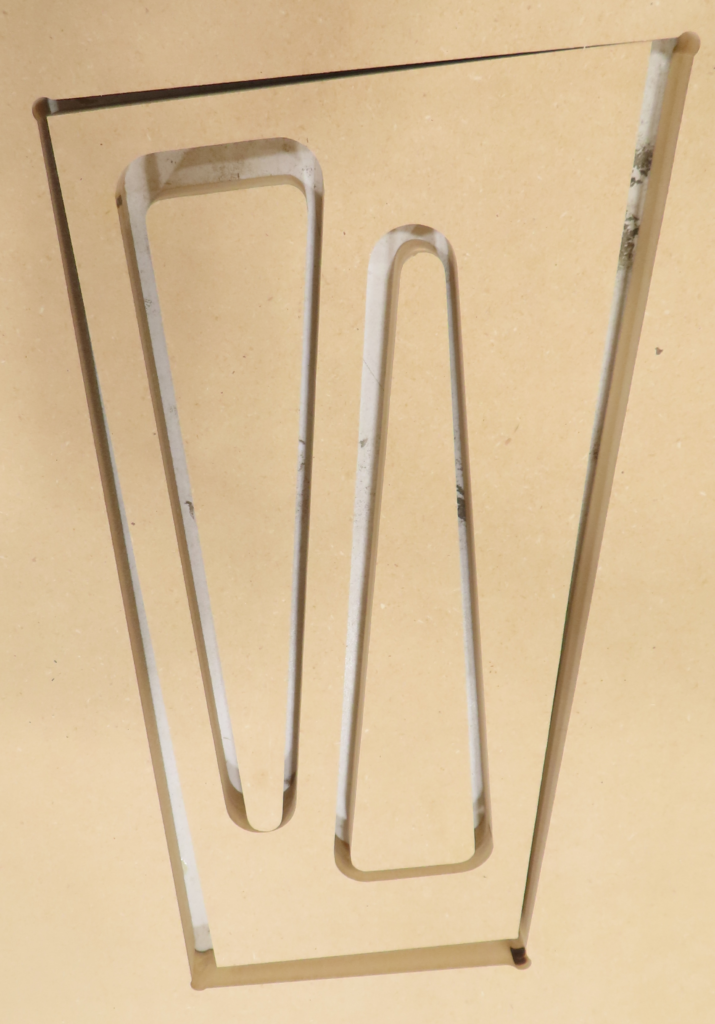
Another mounting option is to create a template with a wedge-driven holding mechanism. Below is the template, along with a couple of wedges.
The template is mounted to the spoil board. Then, a piece of material is placed in the template and held securely with the wedge, as shown below.
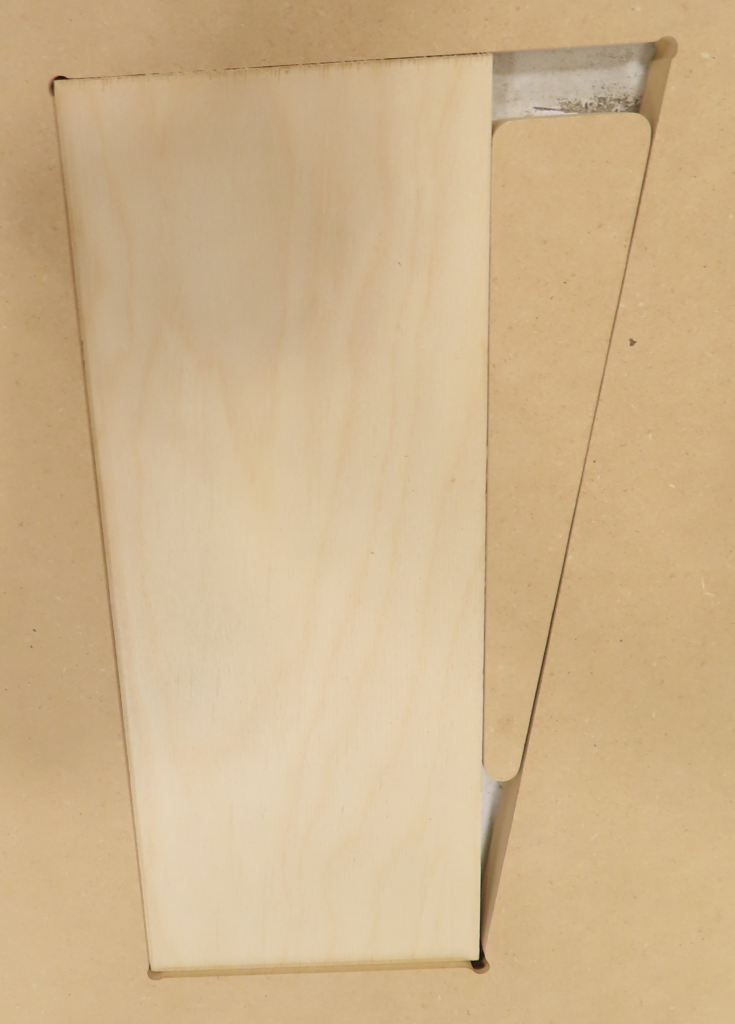
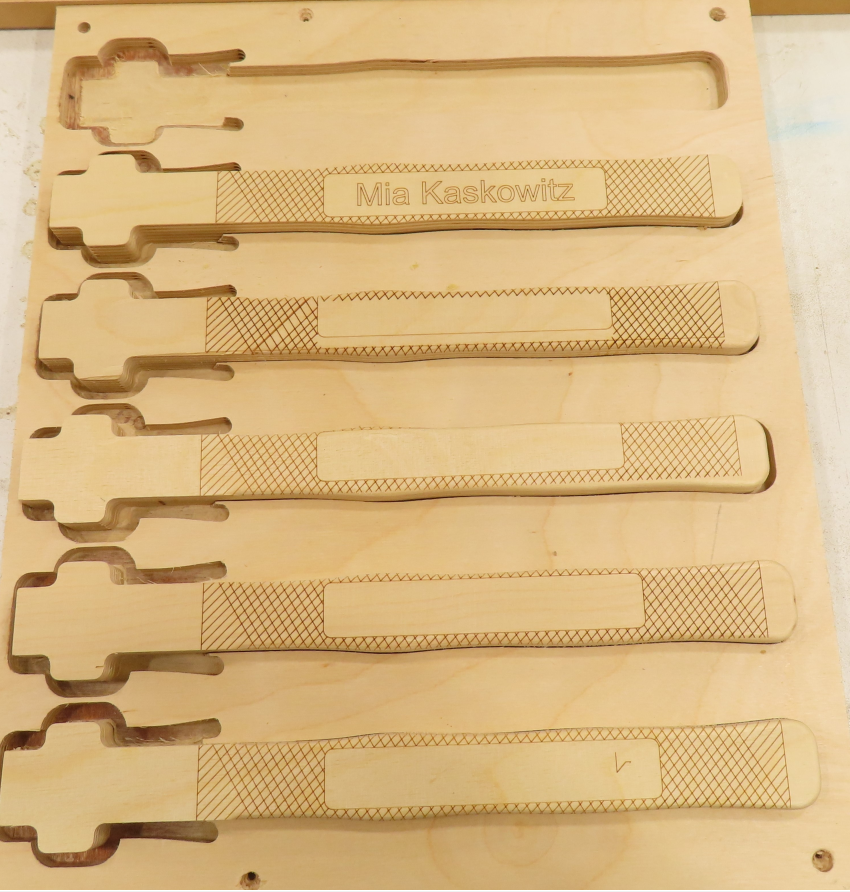
In this example, Mike needed to trim the top portion of these hammer handles. The handles were pushed into the template, and the CNC machine was used to trim the tops.
After the presentation, the group engaged in a very informative dialog, with each person sharing his or her own experiences. We learned about vacuum clamping, edge clamping, double-sided tape options, and many other hold-down mechanisms.
