

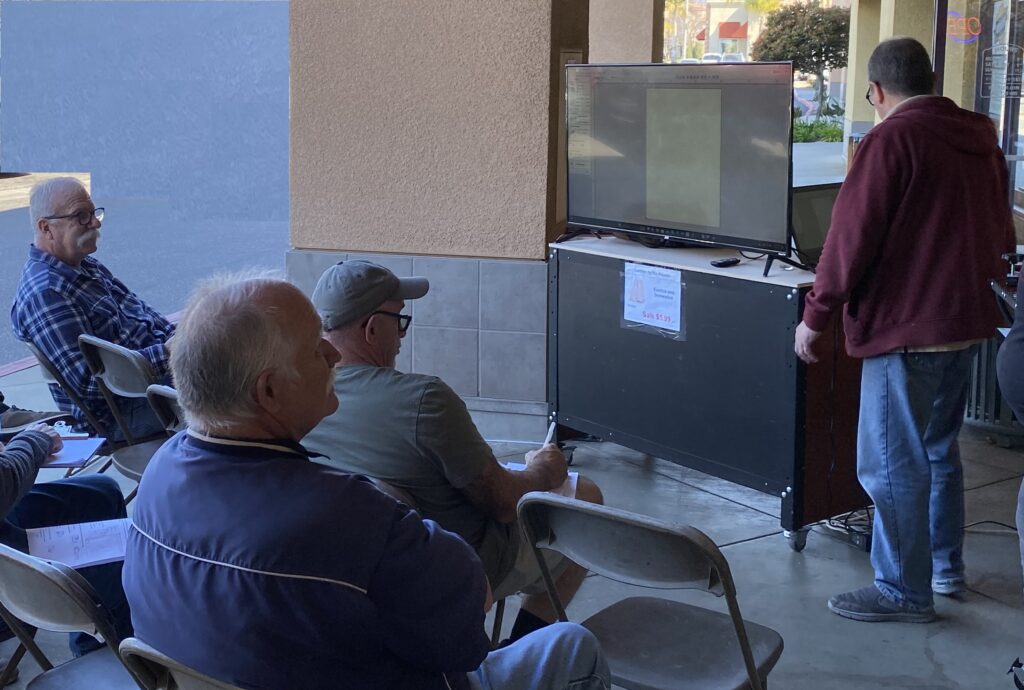
The Inland Woodworkers held their monthly CNC training on April 1st, and the only April fools were those who did not attend! Fourteen participants gathered outdoors to enjoy the first dry and sunny Southern California day in a long time.


The topic of the day was cutting 2-sided projects, and trainer TJ Imholte started off by explaining his method of using an asymmetrical pin jig.
Begin the job by configuring Vectric for a double-sided project:
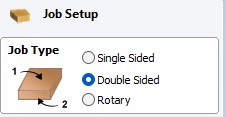

Then proceed to create the part.
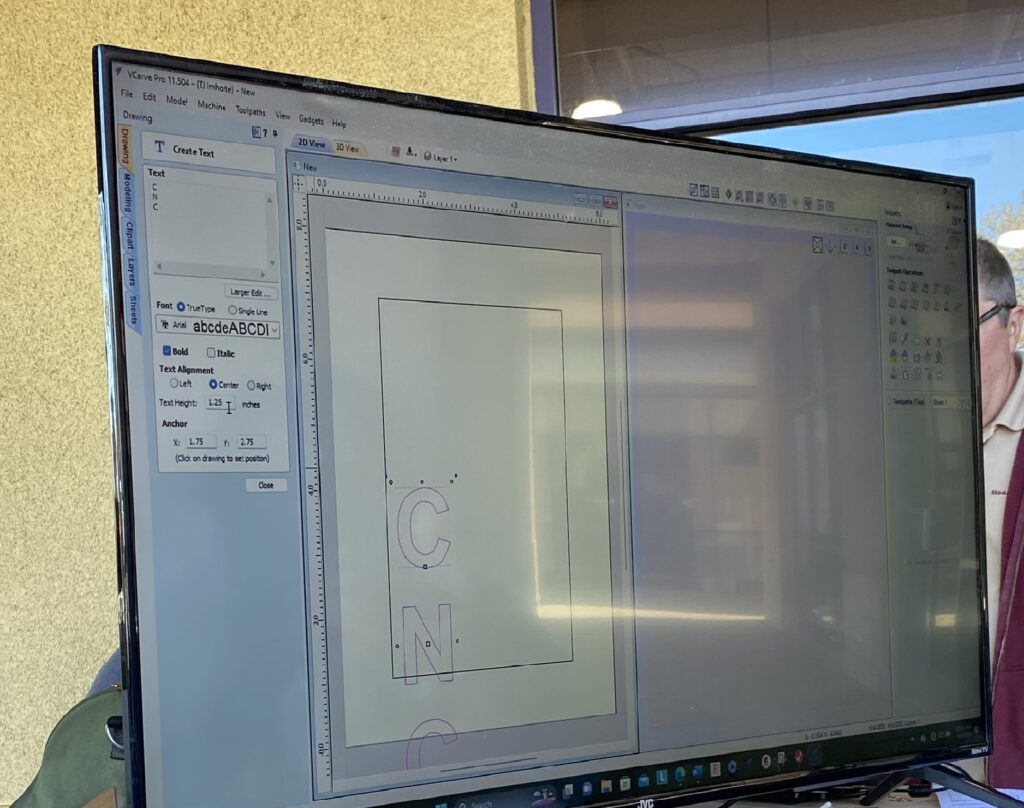
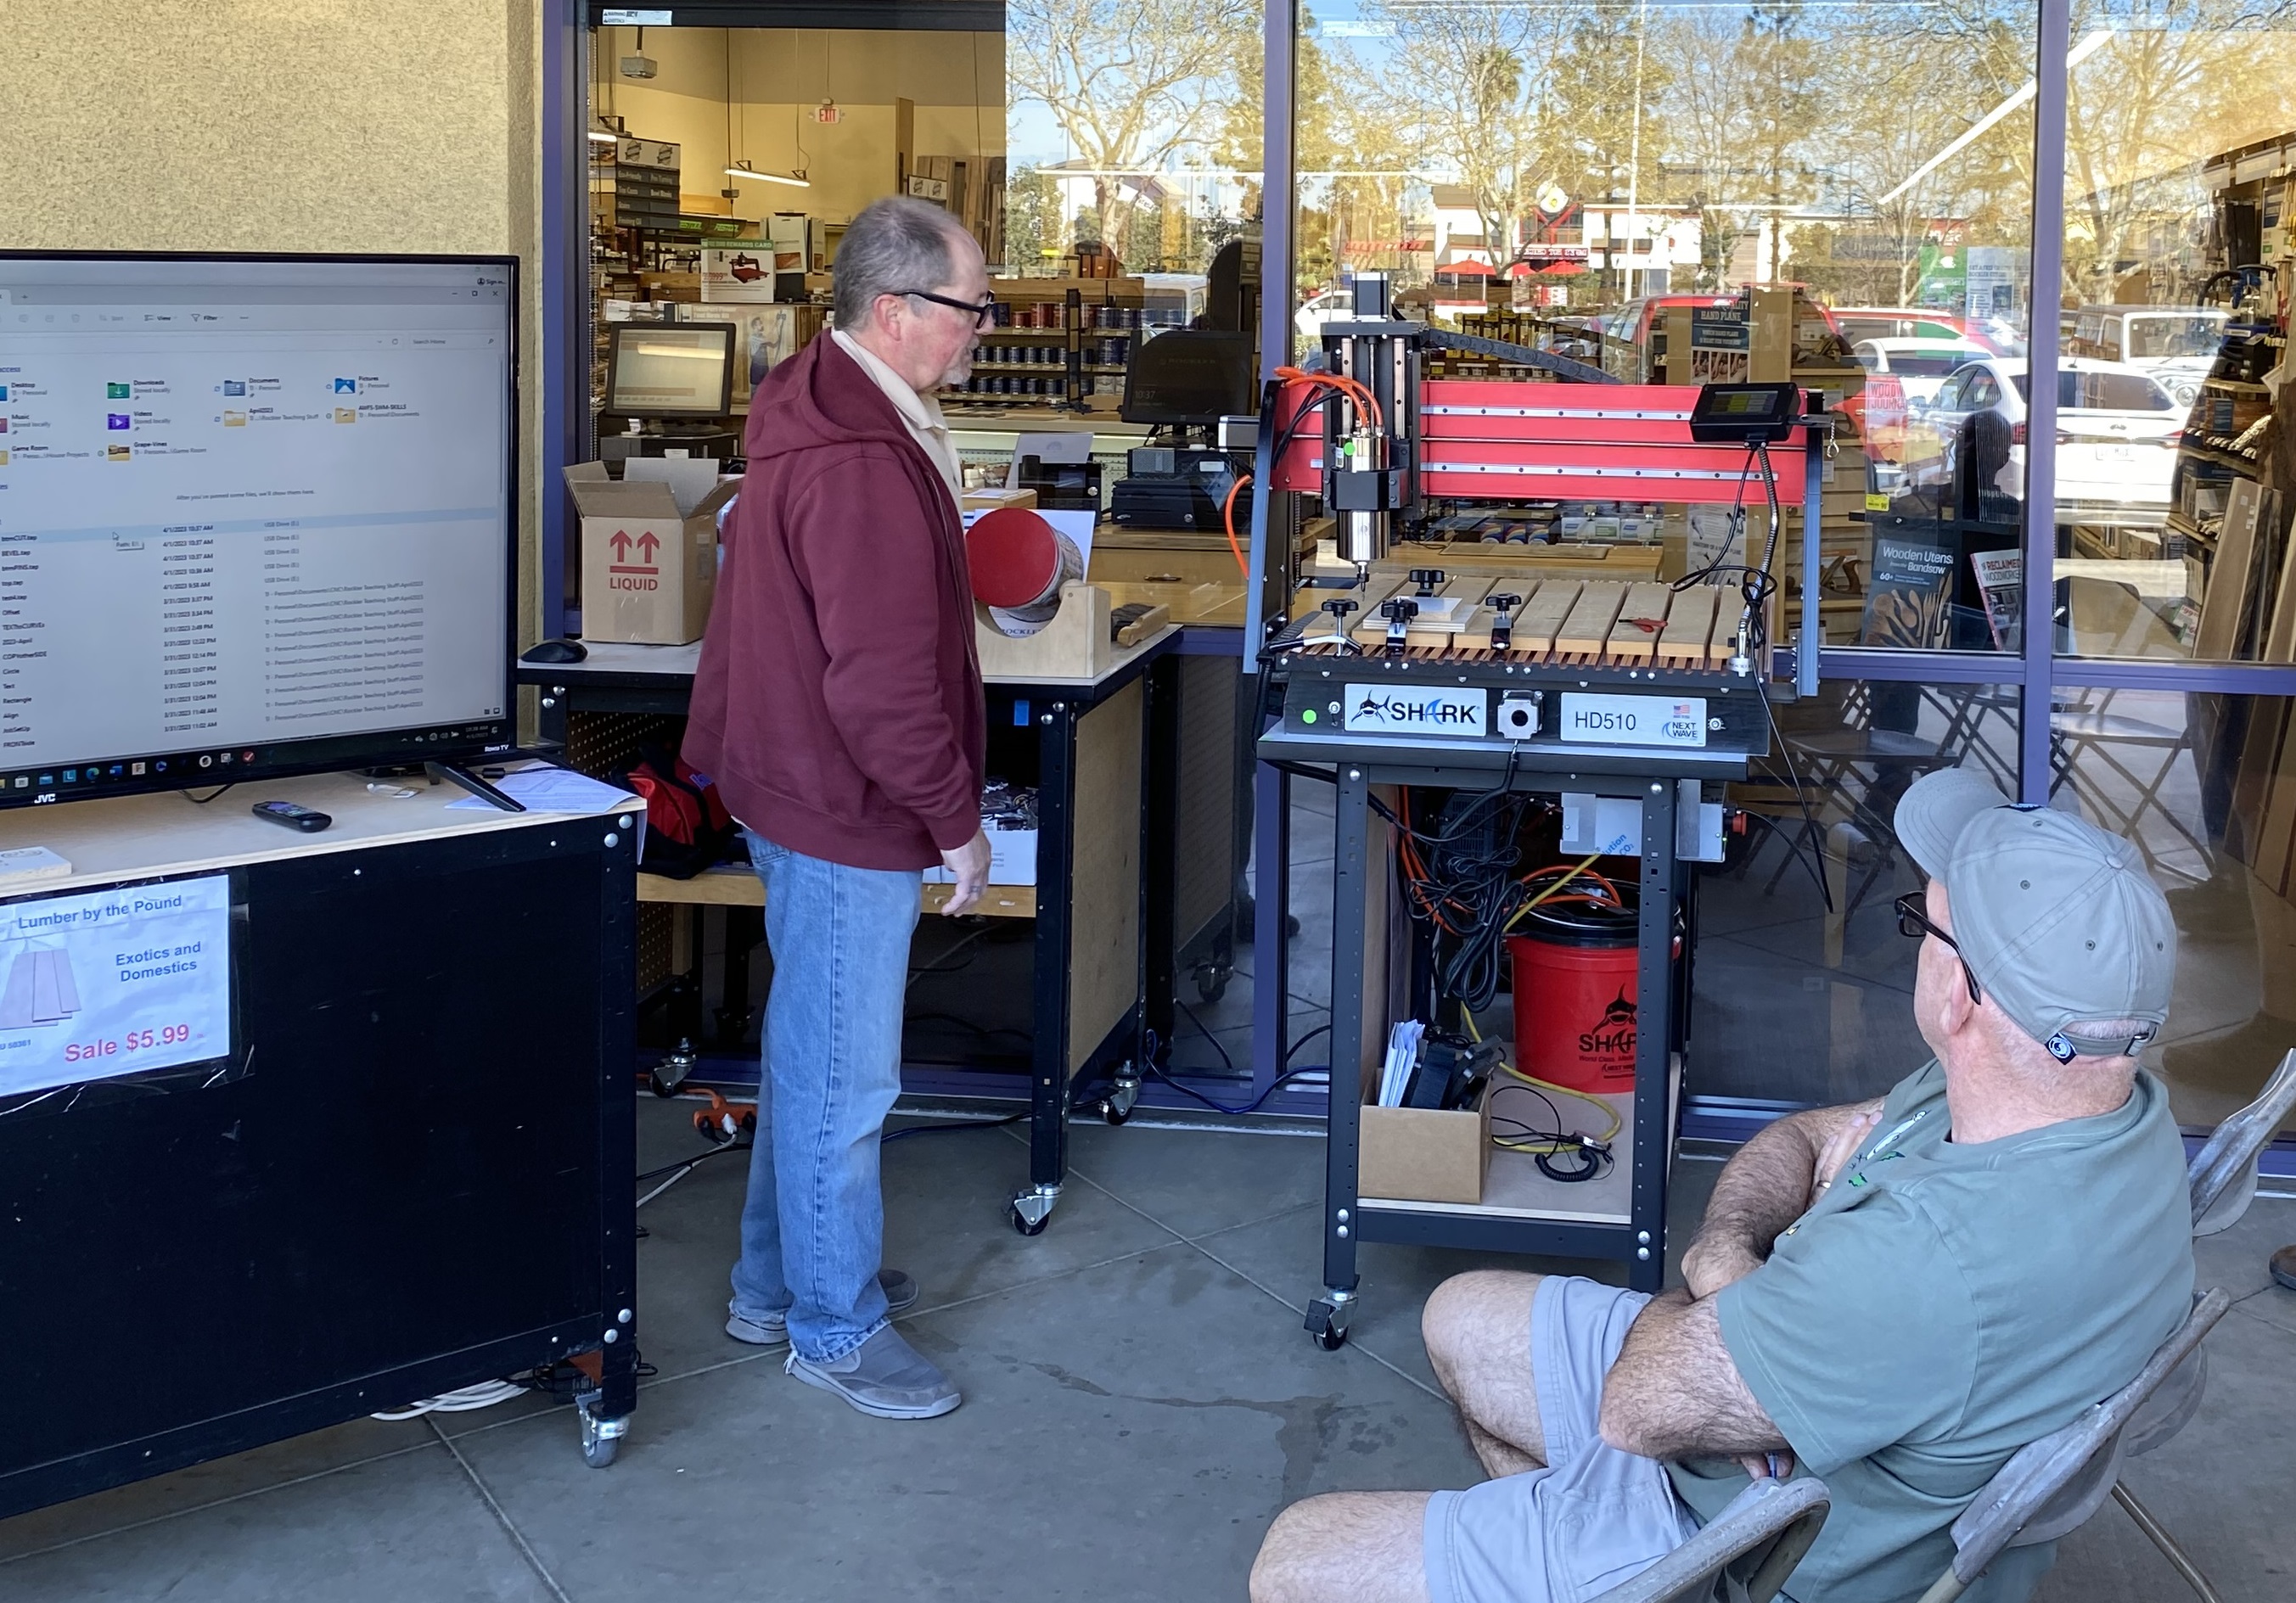
Work the top side first and then the backside. Here is TJ putting some final touches on the design:
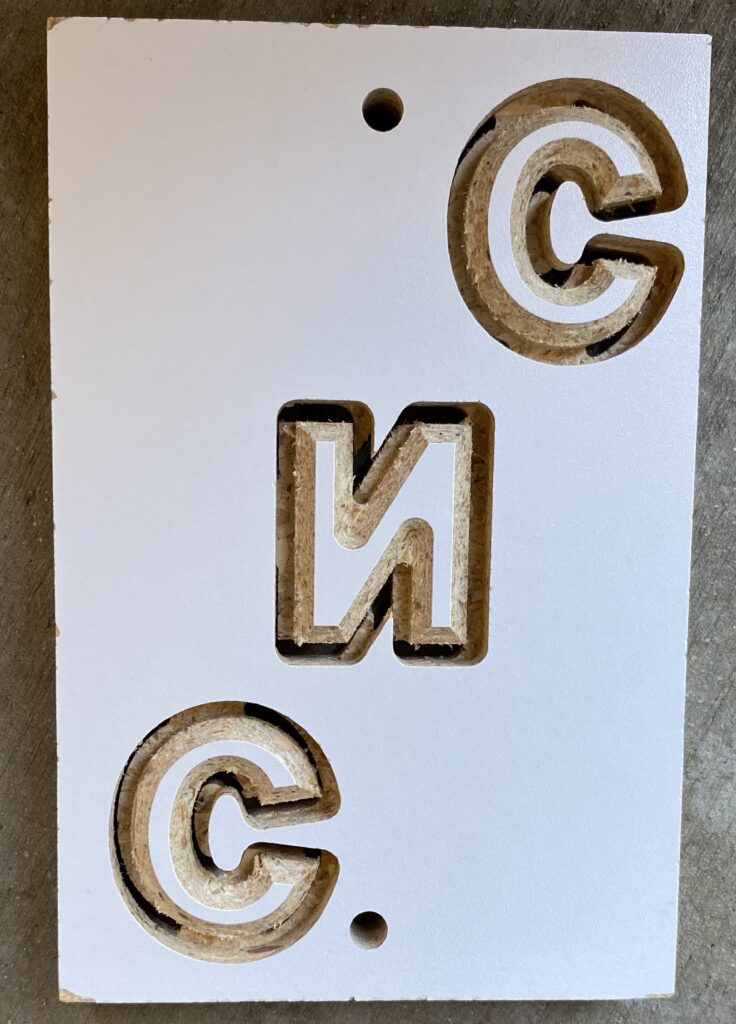
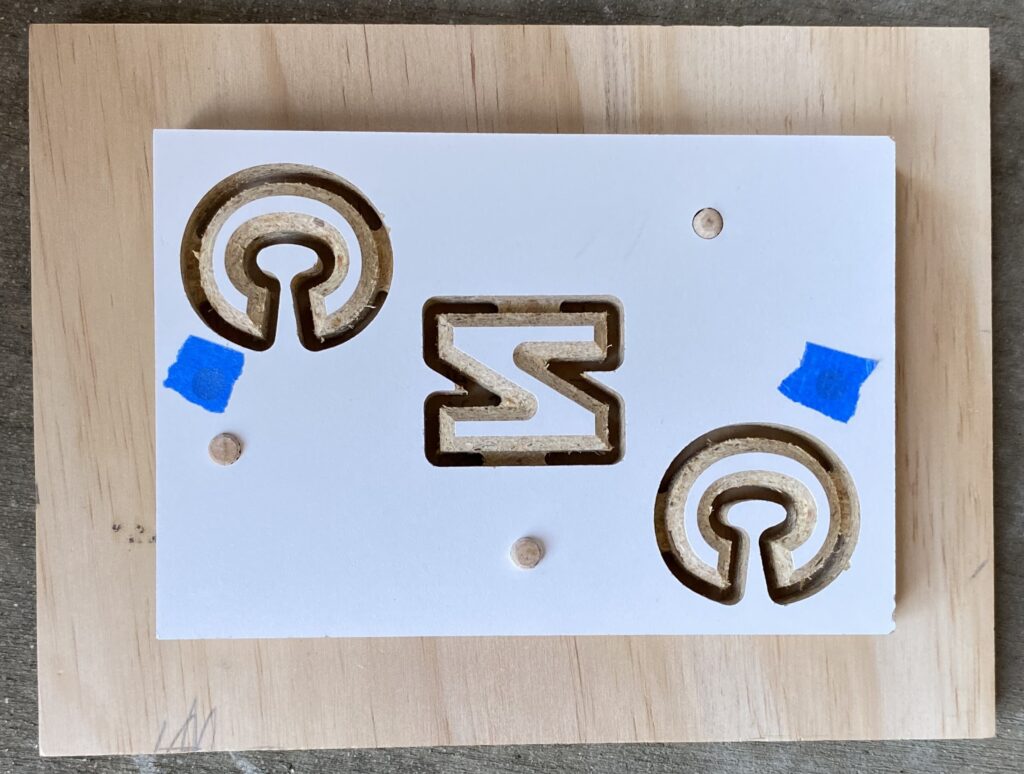
The design begins with entering text, in this case the letters CNC. The letters are then positioned, either in the center or offset to achieve a more cosmetic appearance. Remember to convert the letters to curves in order to reposition them. Next, use the offset tool (outwards 1/16″ with square corners) to create a new set of vectors for machining the part. For the inner vector on the top surface, use a pocket toolpath, and for the outer vector, use a profile cut.
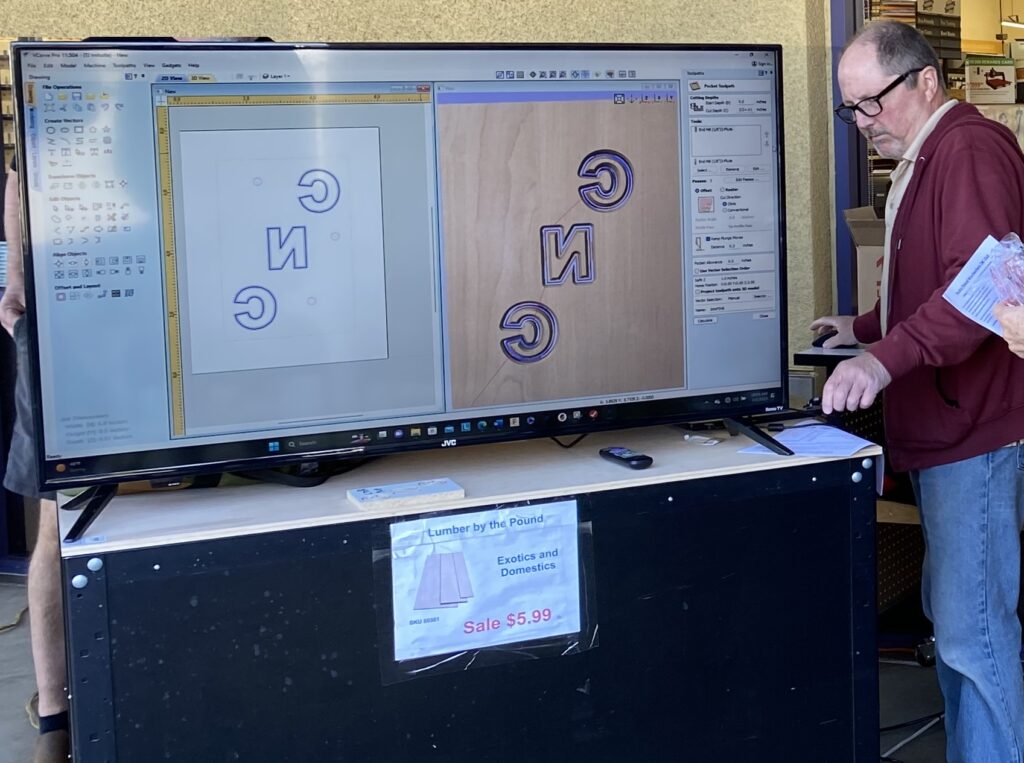
For this project, TJ used tabs on the top surface to keep the letters from flying out, and ramps to cut into the pockets. He then added pin holes using the Hole function. Vectric tricks: hold the shift key to select multiple objects, and use the Copy feature to copy the image to the back side.
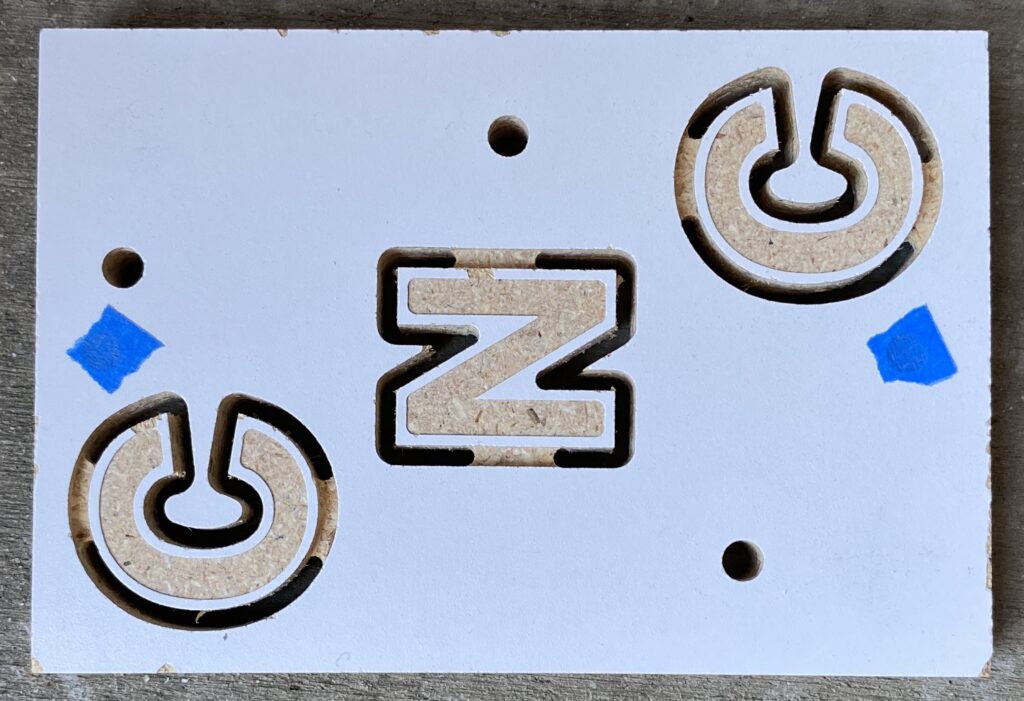
Next, flip the board to work on backside. There is no need to add tabs for the bottom, just a profile cut. With everything programmed, it is now time to cut. But sometimes broken bits happen:
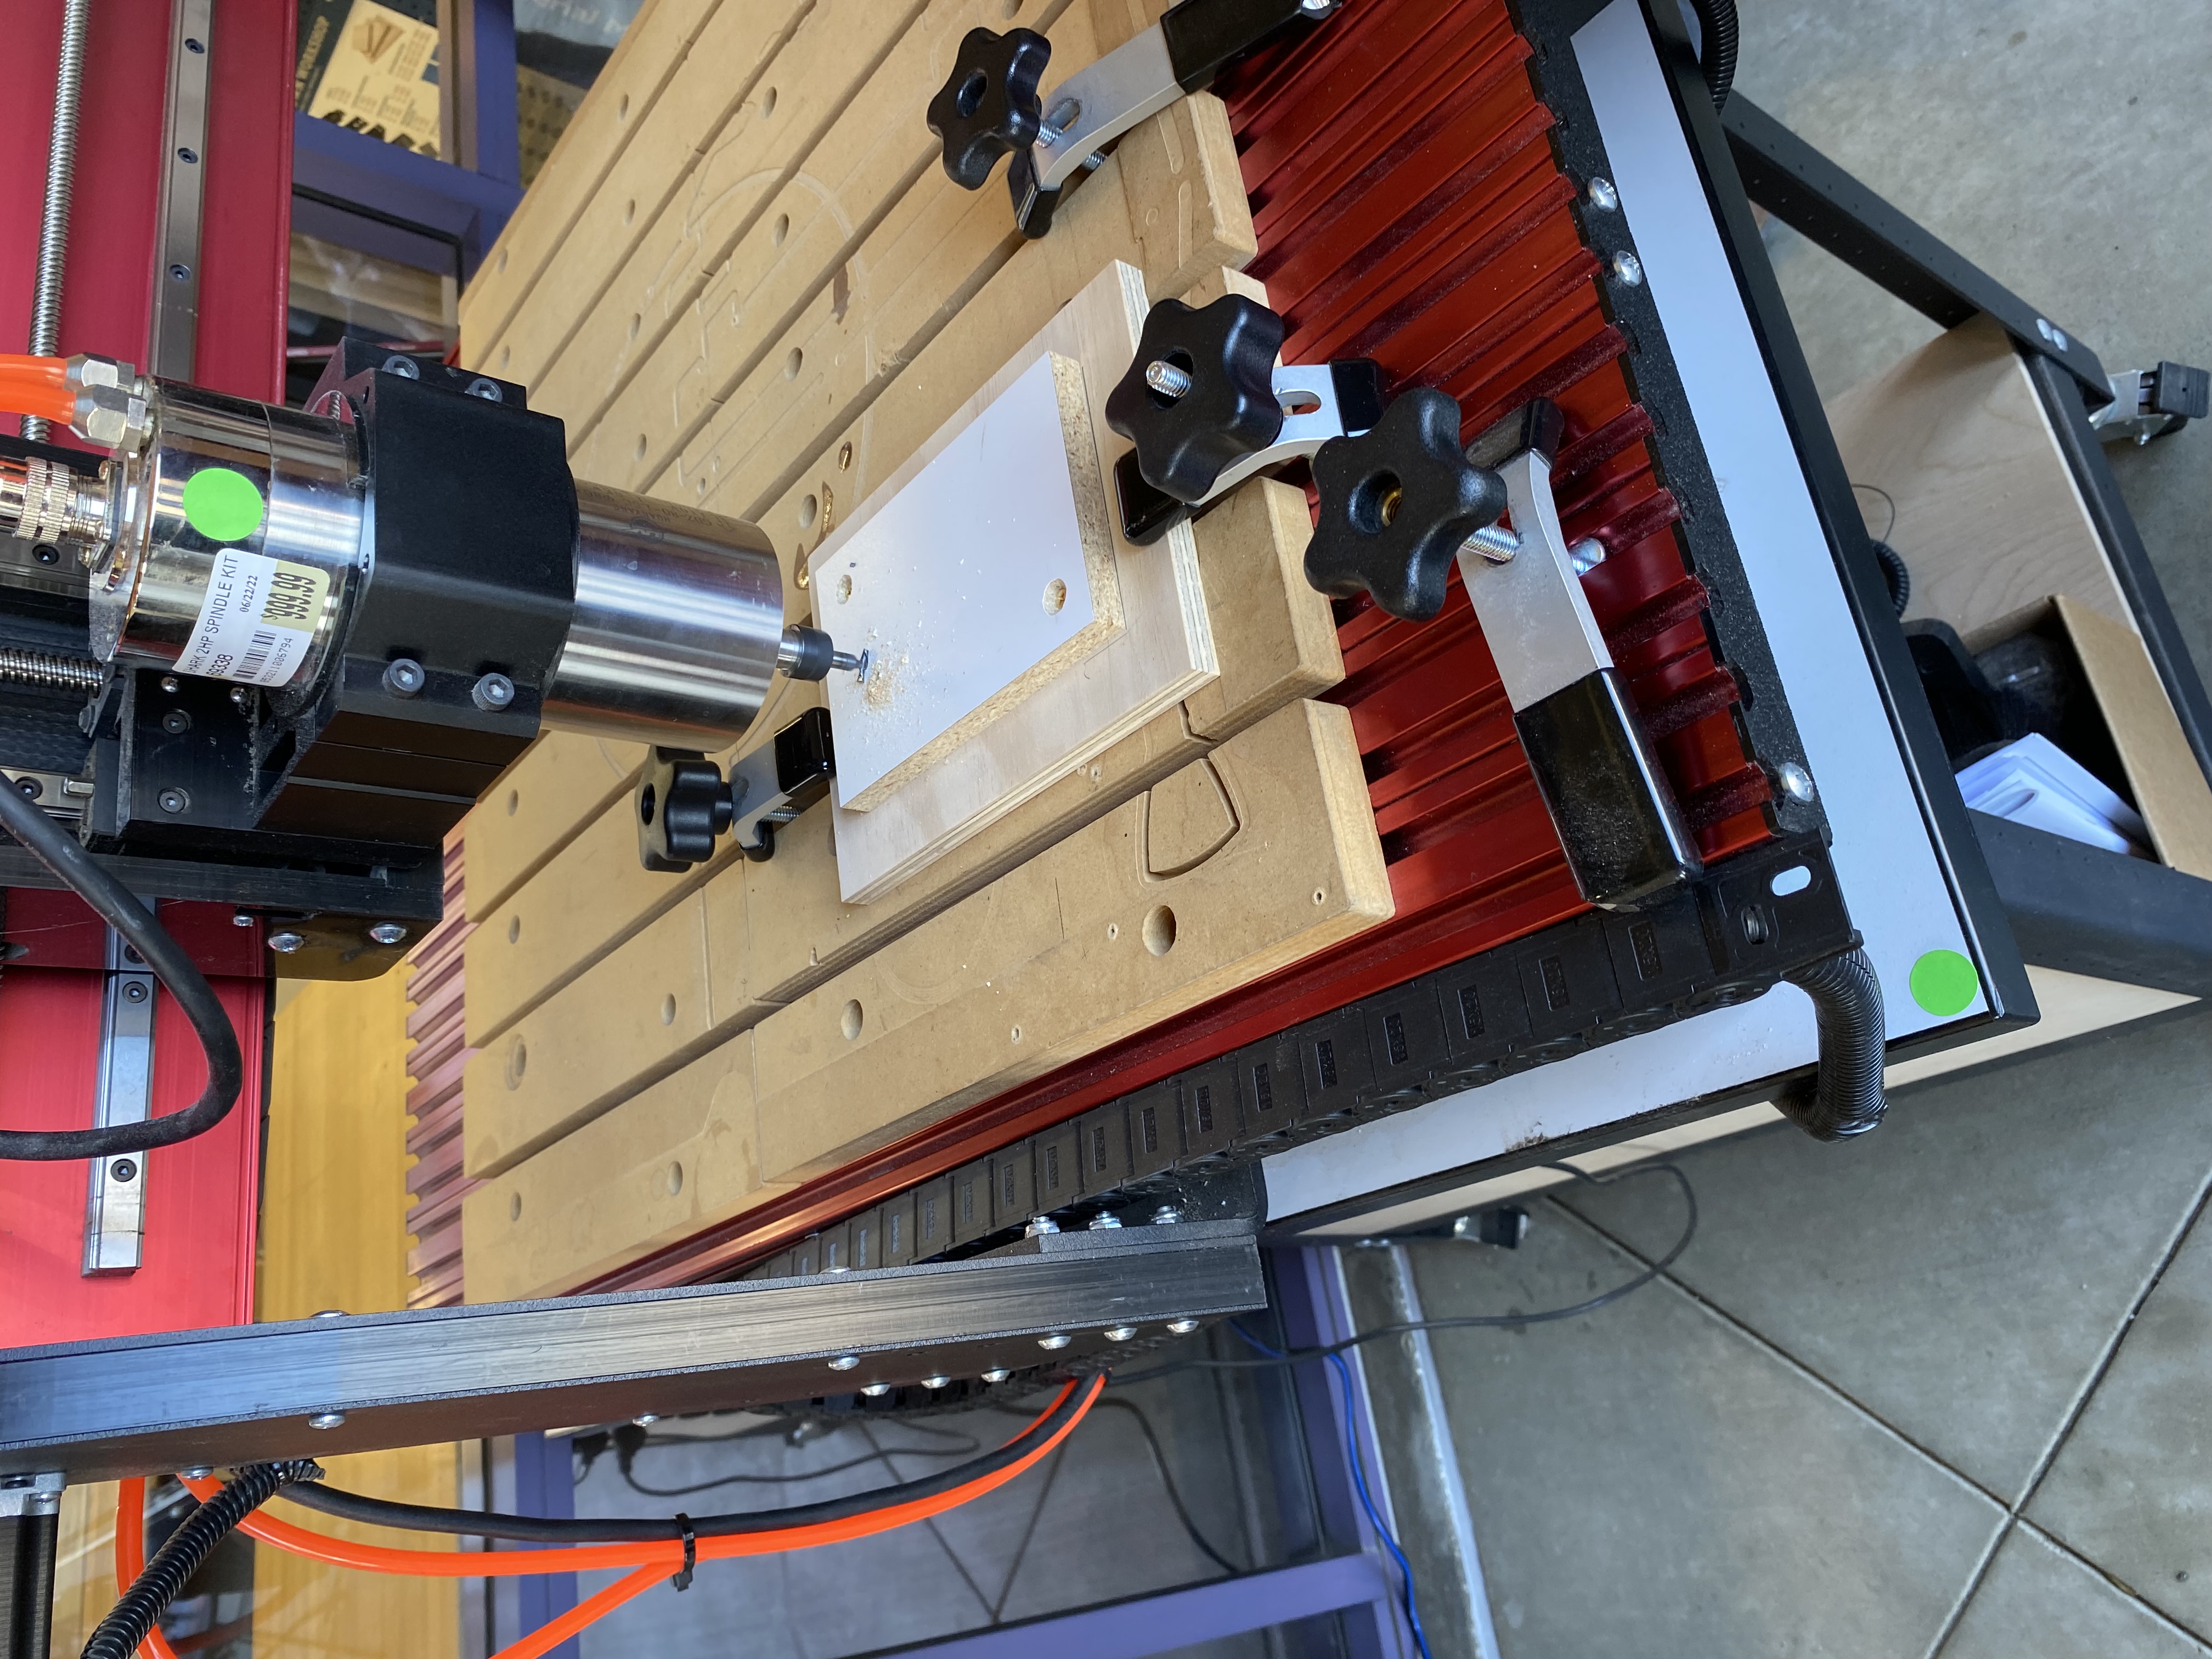
So double-check the machining parameters:
With a new bit in place, let the cutting commence!
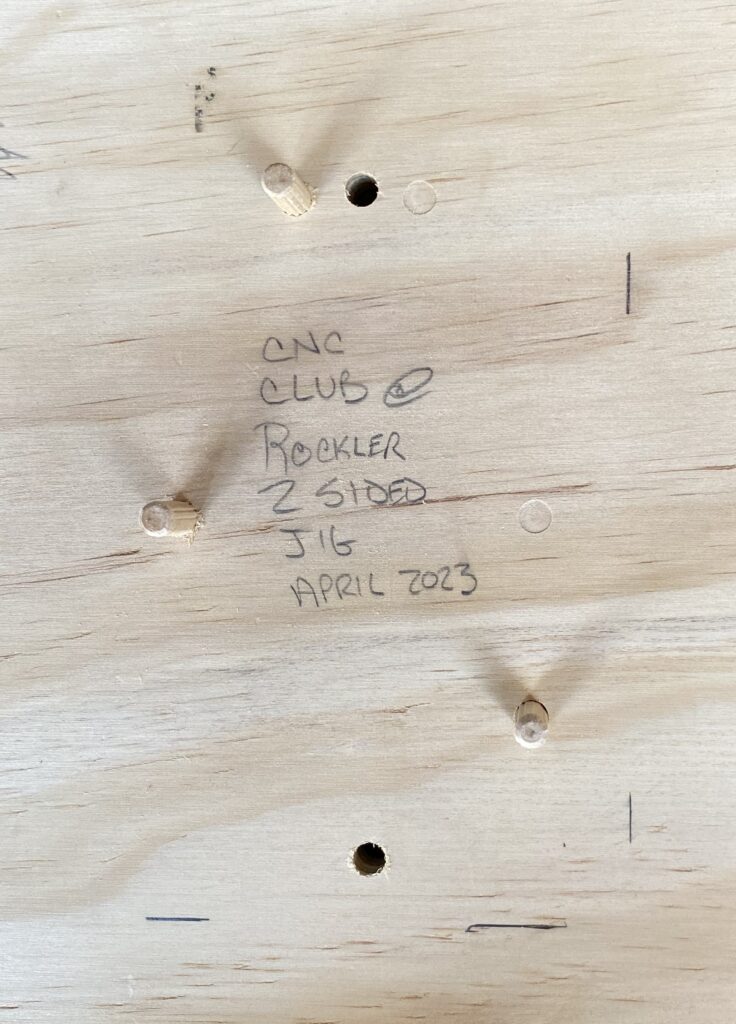
Here is an example of a 2-pin jig set-up:
And here is an example of a 3-pin, asymmetrical jig set-up:
This is the jig for the 3-pin asymmetrical set-up:
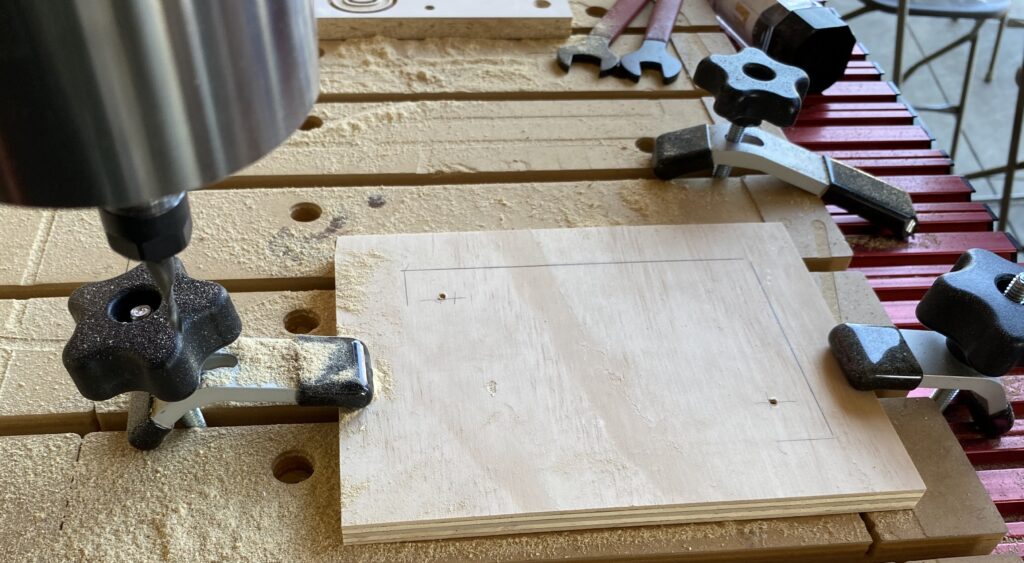
TJ is now setting the X-Y-Z coordinates in preparation of the machining:

The group engaged in a lively discussion about spindle feeds and speeds. The rule of thumb is to make chips, not sawdust. Start by using the recommended settings from the bit manufacturer. Then, adjust for the machine: router/spindle capabilities, machine speeds and accuracy, power of the servo motors, etc. Finally, adjust the settings to compensate for the type of wood.

Starting next month, the club will begin its monthly CNC Challenge. The rules of the competition are simple: each month, the instructor will demonstrate a new CNC topic. The participants will then try out the method and bring a sample of their efforts to the following meeting. Participation is all that matters. Successes and failures both contribute to the learning experience and will be counted equally. At the end of the year, the club will recognize those individuals with the most participation. A grand prize may or may not be offered, just saying 🙂 .