13
Rockler CNC Demonstration #11, November 10, 2018
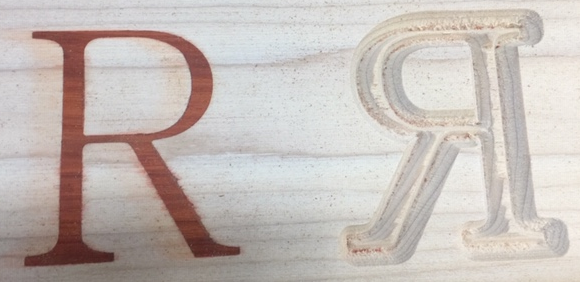
Prism VS Standard Inlay
 VS
VS 
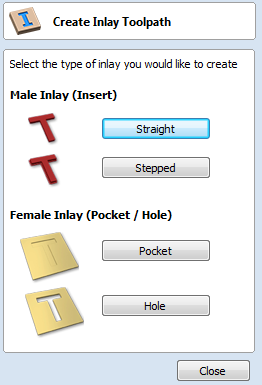 At DEMO #1. we created inlays using the inlay tool path tools to make both the female pocket and the male inlay insert. Today we will make an inlay using the following tool path tools:
- VCarve / Engraving Toolpath
- Prism Carving Toolpath
- Pocket Toolpath
Pros to Prism Inlays:
- Able to make square corners
- Able to make small detailed inlays regardless of tool diameter
Cons to Prism Inlays:
- Delicate designs may be hard to machine without breakage
- No offset, Only prism tolerances
- Not the same profile at each depth, not a good choice for items like cutting boards that may require resurfacing from time to time.
Create Design
 Start new file
- Fill out job set up
- 3.5 x 10 x 0.75
- Google search “tribal tattoo patterns”
- Find one you like with medium detail level
- Grab the image with Snag it or some other snip tool
- Save that file
- File “Import Bit Map”
- Import the bitmap file you saved
- Highlight the bitmap and select “Trace Bitmap”
- You can now go to layers and turn off the bitmap layer that was automatically created
- The file will most likely need some tweaking to allow for an 1/8” End Mill clearing tool
- Explode the image
- Increase distances between shapes
- Make sure any cutouts or vector shapes are big enough to allow an 1/8 EM tool
- Draw a border around the image using the “Boundary Create” menu
- Select rubber band option
- Once the boundary is created, “create an offset” boundary 1/8” larger
- At this point you have the vectors needed for the inlay portion
- Save this file with an appropriate file name
- Now we need to make the vectors for the pocket the inlay will sit in
- Mirror image the vectors and create a new file using “Save As”
- This file will be used to VCarve the female portion of the inlay
- DONE ready to make TOOL PATHS
Create TOOL PATHS for both files
- First Set properties
- Tool clearance to 1”
- Reset datum to lower left
- Open the last file we made for the female cutout
- Highlight the vectors and Select the “VCarve / Engraving” toolpath
- Set flat depth to 0.3125
- Select “90 deg 0.5” tool
- Enter a meaningful name and calculate tool path
- Save this Tool path
- Open the first file you saved that has the vectors for the inlay
- Select the butterfly vectors and the boundary vector and Select the “Pocket” toolpath
- Set cutting depth to .375 (this is just slightly more than the depth of the inlay pocket)
- Select an 1/8” End Mill
- Set cut depth to 3/32” per pass
- Offset or Raster
- Enter meaningful name and calculate the toolpath
- Save tool path
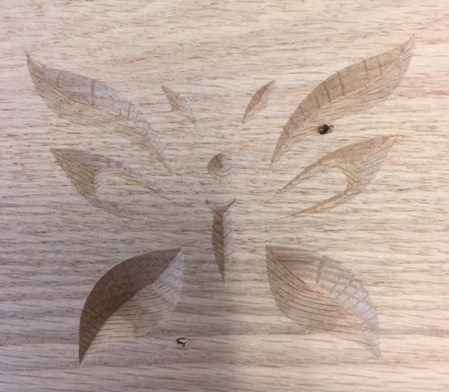
- Select the butterfly vectors and the boundary vector and Select the “Pocket” toolpath
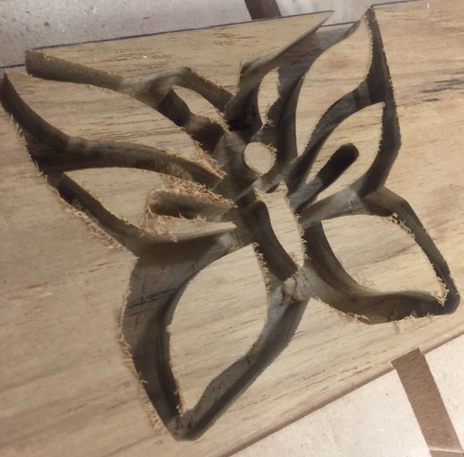
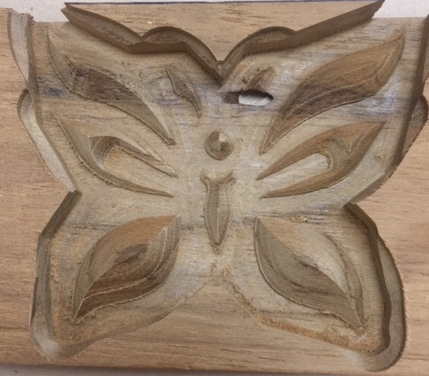
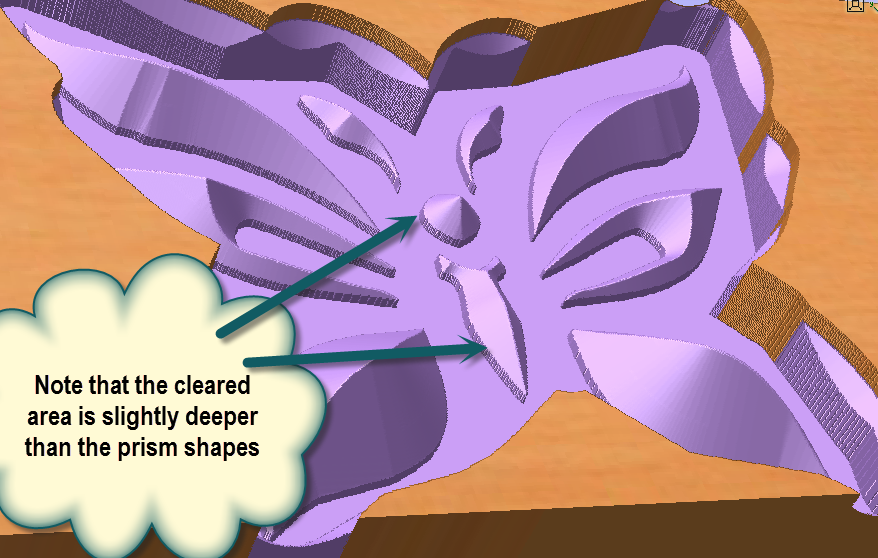
- If you haven’t already done so, run simulations on the toolpaths and check to make sure everything will cut ok, A good simulation should yield something that looks like the pictures above and below:
- Save booth ENTIRE project files
- DONE – ready to cut
Set up wood to be cut
- Make sure properly secured
- JOG create 0,0,0
- Demonstrate Z set up
- Run file for pocket
- Run 2 files to make inlay part
Questions?